Setup Ajax
Introduction
Lexa – Ajax is a simple and beautiful admin template built with Bootstrap 5.3.3 and jQuery Ajax. It has 7+ different layouts and 3 modes ( Dark, Light & RTL ). You can simply change to any layouts or modes by changing a couple of lines code. You can start small and large projects or update design in your existing project using Lexa Ajax. It is very quick and easy as it is beautiful, adroit, and delivers the ultimate user experience.
📁 Folder & Files Structure
AJAX
├── Admin
├── Documentation
├── Starterkit


├── Admin
      ├── ajax
      ├── assets
            ├── css
            ├── fonts
            ├── images
            ├── js
            └── libs
      └── All html pages
Server Requirements
Need WAMP or LAMP or XAMPP or NGINX or Apache setup on your server or machine.
How to use pre-built layouts?
For Vertical layout, Each of the layout options
is provided below with
steps you would need to perform in the
index.html file:
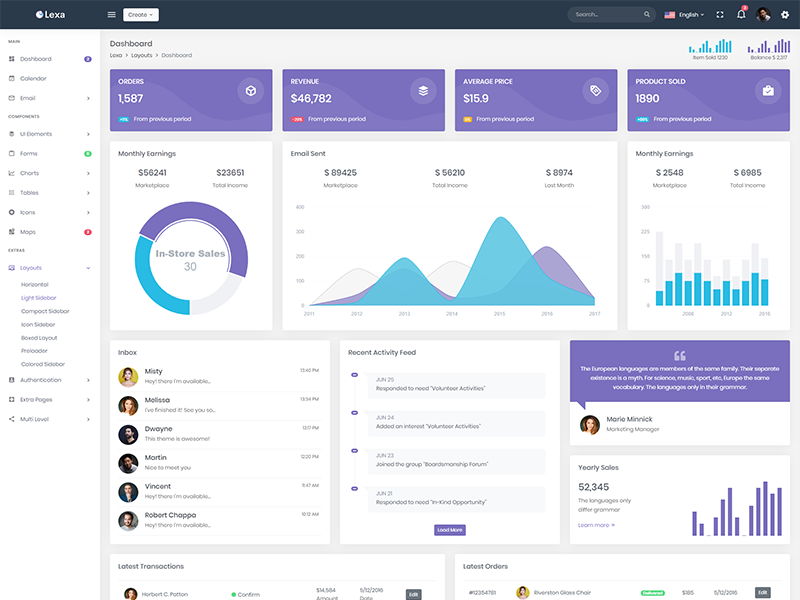
Light Sidebar & Topbar Dark
Remove data attributedata-sidebar="light" body element to
have light sidebar. Add data attribute
data-topbar="dark" body element to have a
dark topbar.
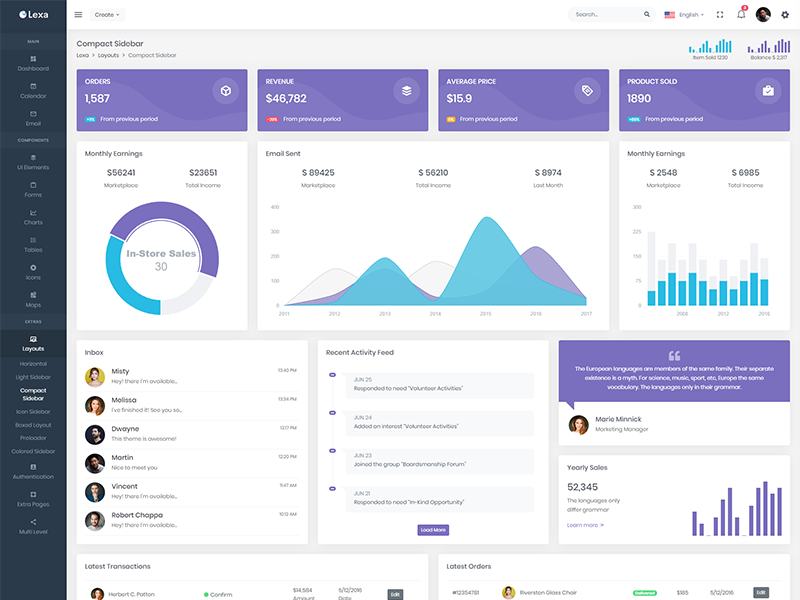
Compact Sidebar
Keep your body element with data attributedata-sidebar-size="small" i.e.
<body data-sidebar-size="small">
to have small sidebar.
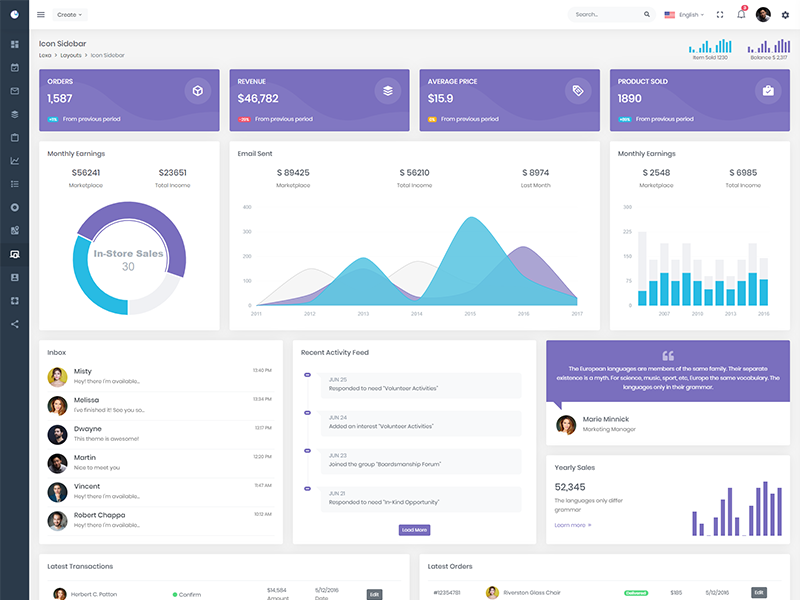
Icon Sidebar
Keep your body element with classvertical-collpsed" i.e.
<body class="vertical-collpsed">
to have icon sidebar.
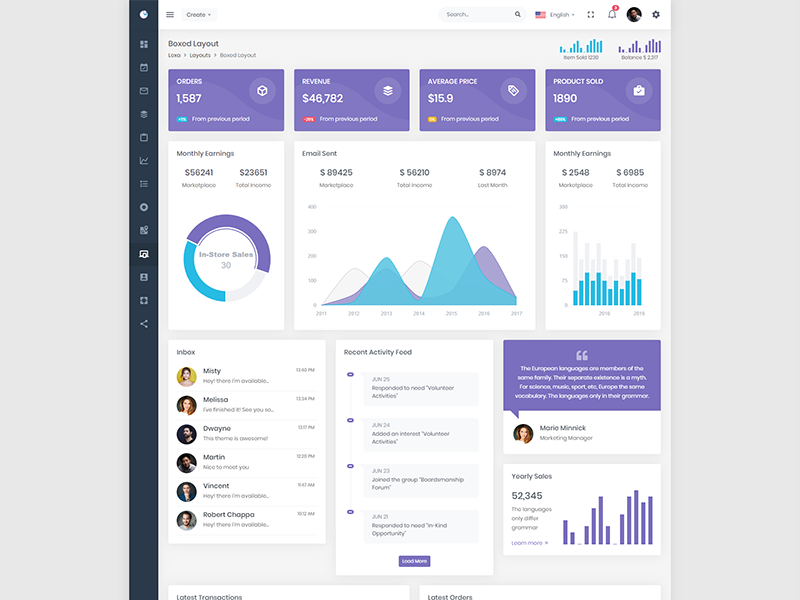
Boxed Layout
Keep your body element with classvertical-collpsed and data attribute
data-layout-size="boxed"
                                                                    data-keep-enlarged="true"
i.e.
 <body class="vertical-collpsed"
                                                                    data-layout-size="boxed"
                                                                    data-keep-enlarged="true">
to have boxed layout with icon view sidebar.
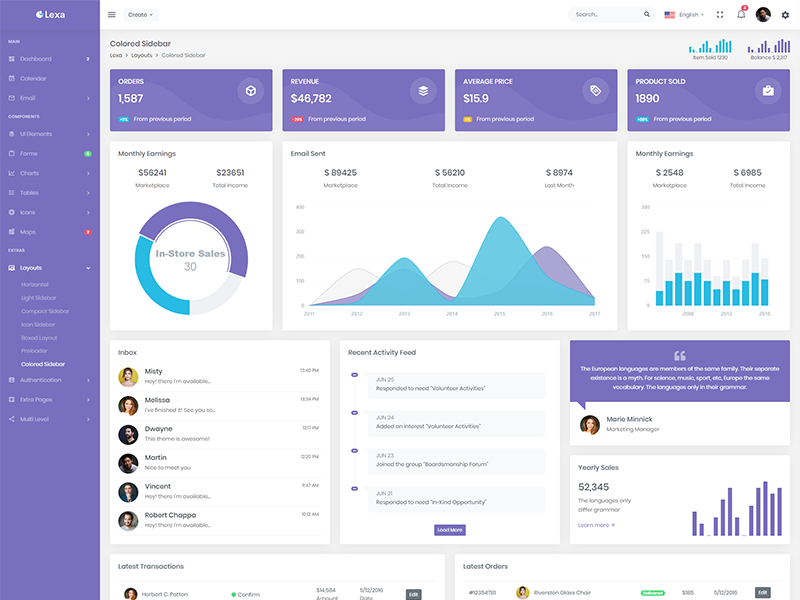
Colored Sidebar
Keep your body element with data attributedata-topbar="colored" i.e.
<body data-topbar="colored"> to
have colored sidebar.
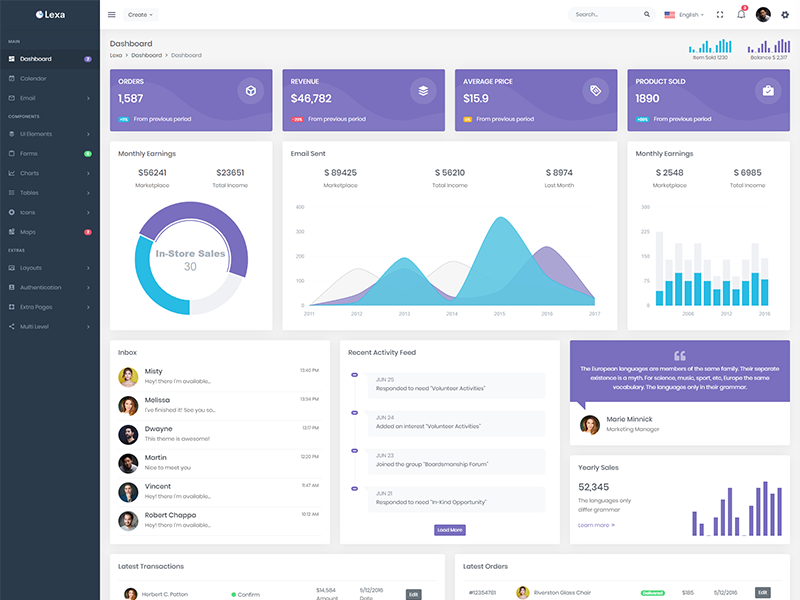
Preloader
In order to add pre-loader in your page, include following html afterbody element.
<div id="preloader">
                                                                    <div id="status">
                                                                    <div class="spinner-chase">
                                                                    <div class="chase-dot"></div>
                                                                    <div class="chase-dot"></div>
                                                                    <div class="chase-dot"></div>
                                                                    <div class="chase-dot"></div>
                                                                    <div class="chase-dot"></div>
                                                                    <div class="chase-dot"></div>
                                                                    </div>
                                                                    </div>
                                                                    </div>
For Horizontal layout, Use the structure of the
layouts-horizontal.html file.
Each of the
layout options is provided below with
steps you would need to perform in the
layouts-horizontal.html or index.html
file:
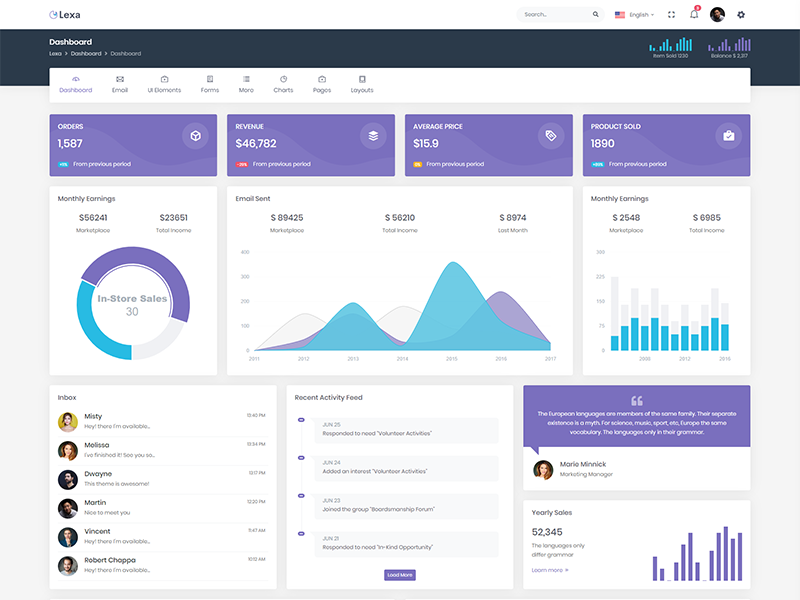
Topbar Light
Keep your body element with data attributedata-topbar="light"
data-layout="horizontal" i.e. <body
data-topbar="light"
data-layout="horizontal"> to have light
topbar and dark menubar.
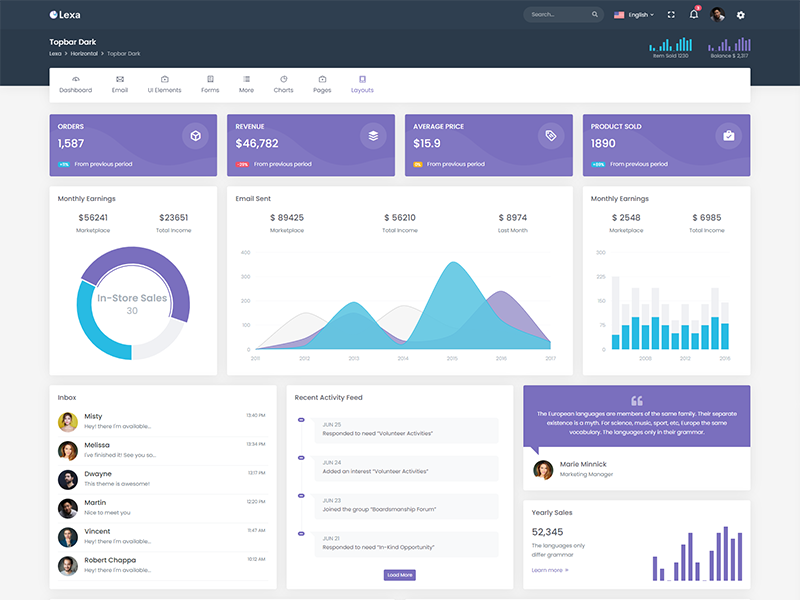
Topbar Dark
Keep your body element with data attributedata-topbar="dark"
data-layout="horizontal" i.e. <body
data-topbar="dark"
data-layout="horizontal"> to have dark
topbar and dark menubar.
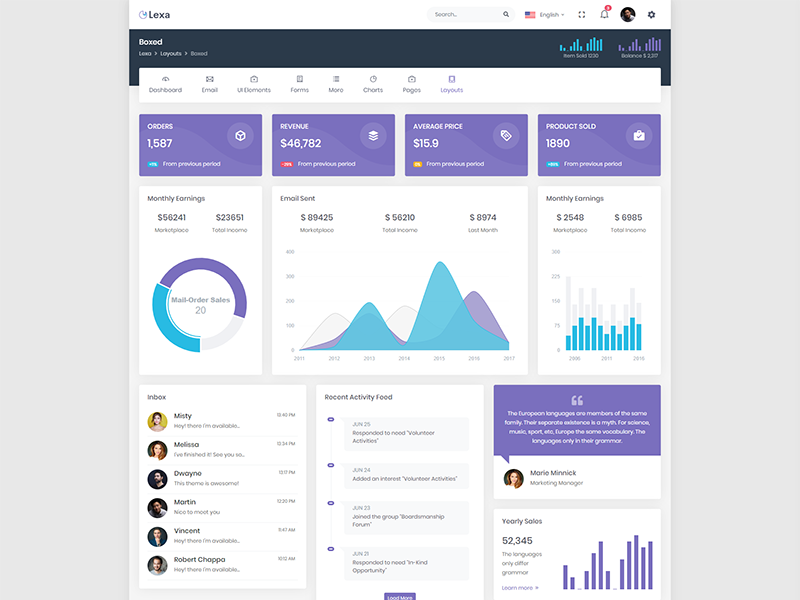
Boxed Layout
Keep your body element with data attributedata-layout-size="boxed"
data-layout="horizontal" i.e. <body
data-layout-size="boxed"
data-layout="horizontal"> to have boxed
layout.
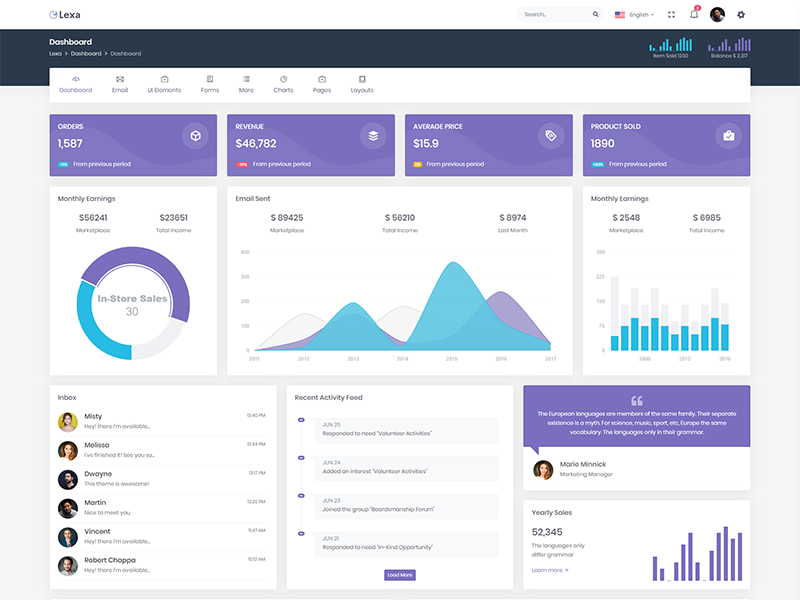
Preloader
In order to add pre-loader in your page, include following html afterbody element.
<div id="preloader">
                                                                    <div id="status">
                                                                    <div class="spinner-chase">
                                                                    <div class="chase-dot"></div>
                                                                    <div class="chase-dot"></div>
                                                                    <div class="chase-dot"></div>
                                                                    <div class="chase-dot"></div>
                                                                    <div class="chase-dot"></div>
                                                                    <div class="chase-dot"></div>
                                                                    </div>
                                                                    </div>
                                                                    </div>
Red Color Layout
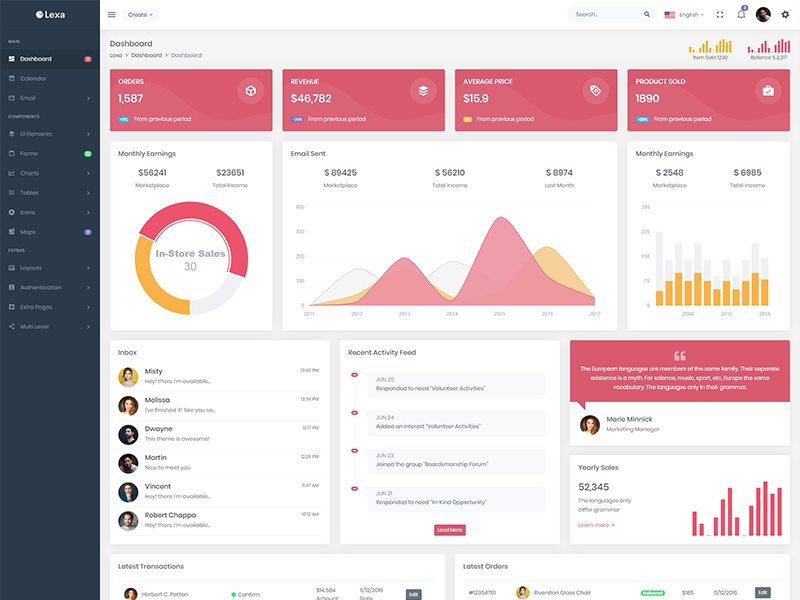
Vertical
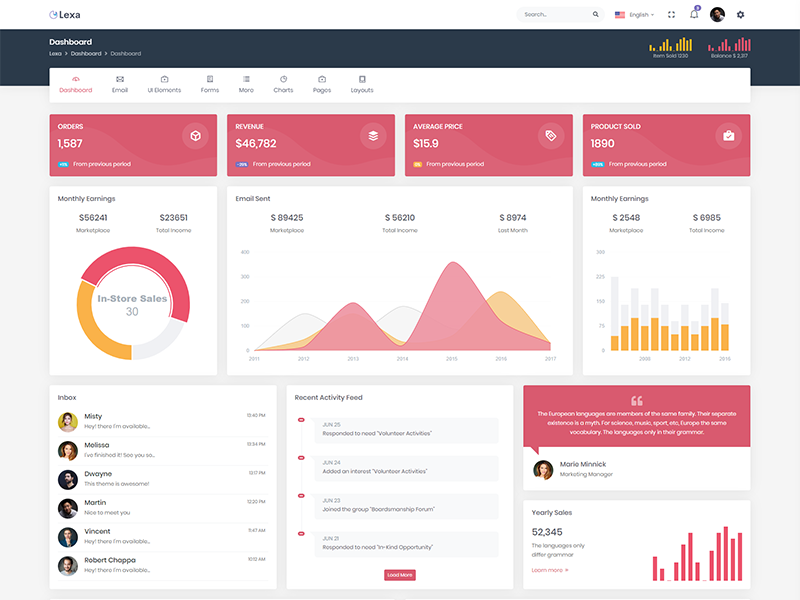
Horizontal
Teal Color Layout
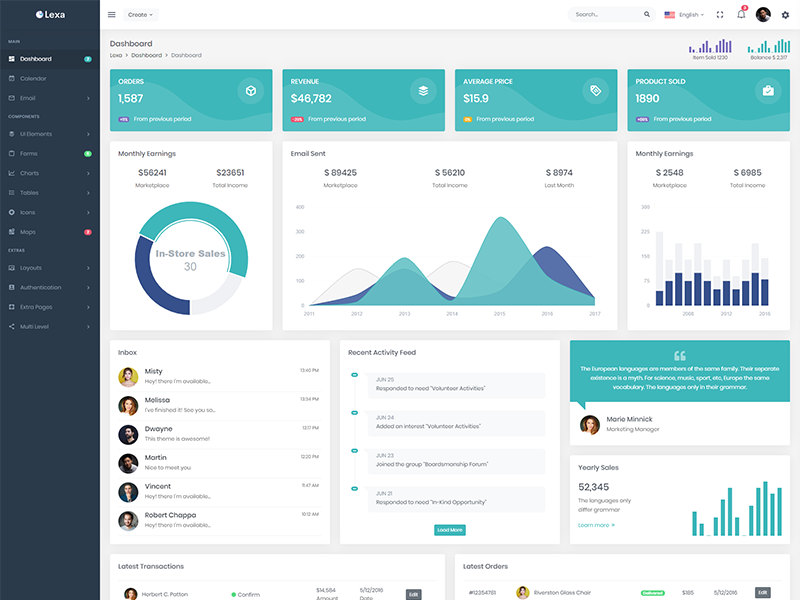
Vertical
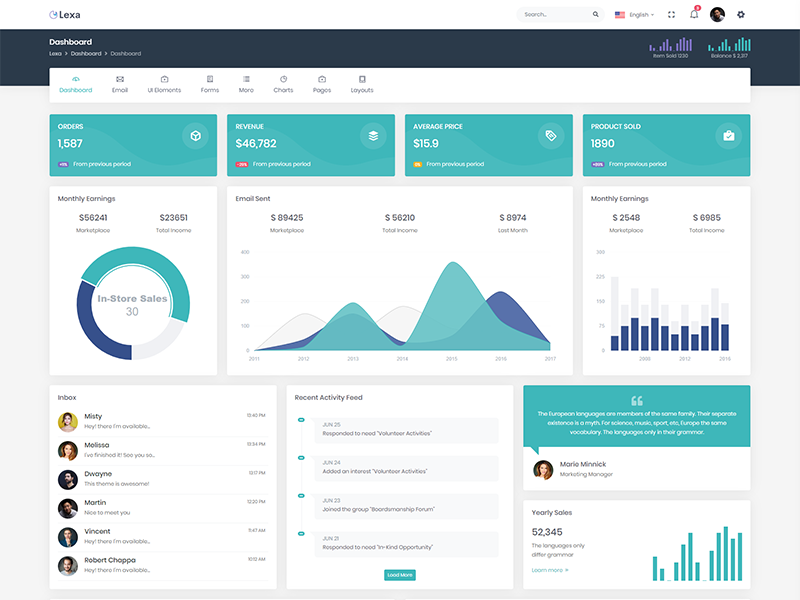
Horizontal
Change Theme Color
To have default mode enabled, Keep your body
element with data attribute
data-theme-mode="default" in the html tag
<html lang="en" data-theme-mode="default">
To have red mode enabled, Keep your body
element with data attribute data-theme-mode="red"
in the html tag
<html lang="en" data-theme-mode="red">
To have teal mode enabled, Keep your body
element with data attribute data-theme-mode="teal"
in the html tag
<html lang="en" data-theme-mode="teal">
Tips
CSS: We suggest you do not change any scss files from the assets/scss/custom folders because to get new updates will break your CSS changes if any you have made. We strongly suggest you create a new custom.css file and use that instead of overwriting any template's custom CSS files.