Setup Codeigniter 4
Introduction
Nazox – Codeigniter is a simple and beautiful admin template built with Bootstrap ^5.3.3 and Codeigniter 4. It has 7+ different layouts and 3 modes ( Dark, Light & RTL ). You can simply change to any layouts or modes by changing a couple of lines code. You can start small and large projects or update design in your existing project using Nazox Codeigniter. It is very quick and easy as it is beautiful, adroit, and delivers the ultimate user experience.
📁 Folder & Files Structure
Codeigniter
├── Admin
    ├── app directory
        ├── Config
        ├── Controller
        ├── Database
        ├── Filters
        ├── Helpers
        ├── Language
        ├── Libraries
        ├── Models
        ├── ThirdParty
        ├── Validation
        ├── Views
        ├── .htaccess
        ├── Common.php
        └── index.html
    ├── public directory
        ├── assets
            ├── css
            ├── fonts
            ├── images
            ├── js
            └── libs
    ├── system
    ├── vendor
    ├── writable
    ├── .gitignore
    ├── composer.json
    ├── composer.lock
    ├── env
    ├── license.txt
    ├── phpunit.xml.dist
    ├── README.md
    └── spart
Server Requirements
Please check the Server Requirements from the below link.
https://codeigniter.com/user_guide/intro/requirements.html
Installation
To setup the admin template, follow the below-mentioned steps:
After you finished with the above steps, you can run the following commands into the terminal/command prompt from the root directory of the project to run the project locally or build for production use:
| Command | Description |
|---|---|
composer install
|
command to install all of the framework's dependencies. |
|
Please fill your DB credentials in the .env file.
database.default.hostname = localhost
database.default.database = Nazox-ci database.default.username = root database.default.password = database.default.DBDriver = MySQLi |
|
php spark migrate
|
This will migrate the database tables. For more details visit https://codeigniter.com/user_guide/dbmgmt/migration.html?highlight=migrate |
php spark serve
|
The development server is accessible at http://localhost:8080. To run on other port just run command : php spark serve --port=8081 |
General Routes
You can follow the official doc https://codeigniter.com/user_guide/incoming/routing.html#setting-your-own-routing-rulesYou can add new routes in the file:
app/Config/Routes.php i.e.
$routes-><method>('<redirect-link>', '<controller-name>::<controller-method>');
How to use pre-built layouts?
For Vertical layout, Each of the layout options is provided below with
steps you would need to perform in the app/Views/partials/body.php file:
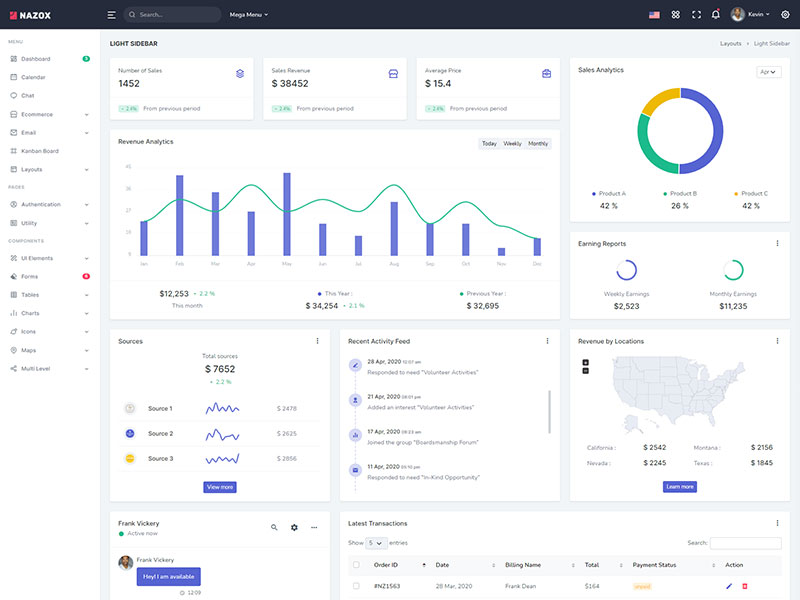
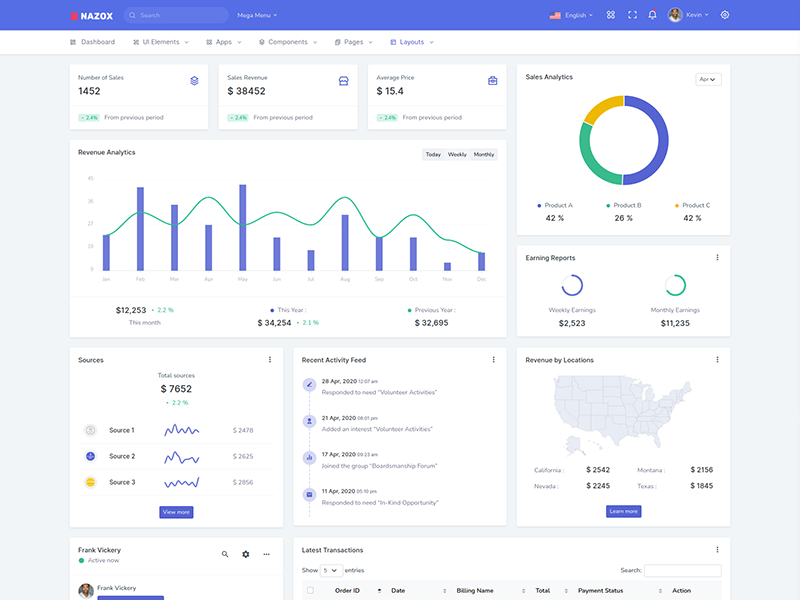
Light Sidebar & Topbar Dark
Add data attribute in body elementdata-sidebar="light" data-topbar="dark"
E.g.
 <body
                                                                    data-sidebar="light" data-topbar="dark">
to
have dark sidebar.
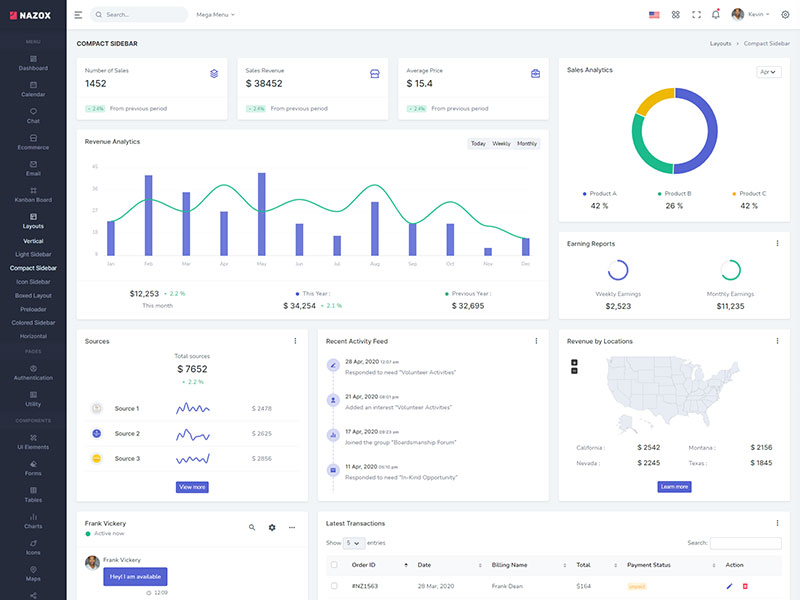
Compact Sidebar
Keep your body element with data attributedata-sidebar-size="small"
E.g.
 <body
                                                                    data-sidebar-size="small">
to have small sidebar.
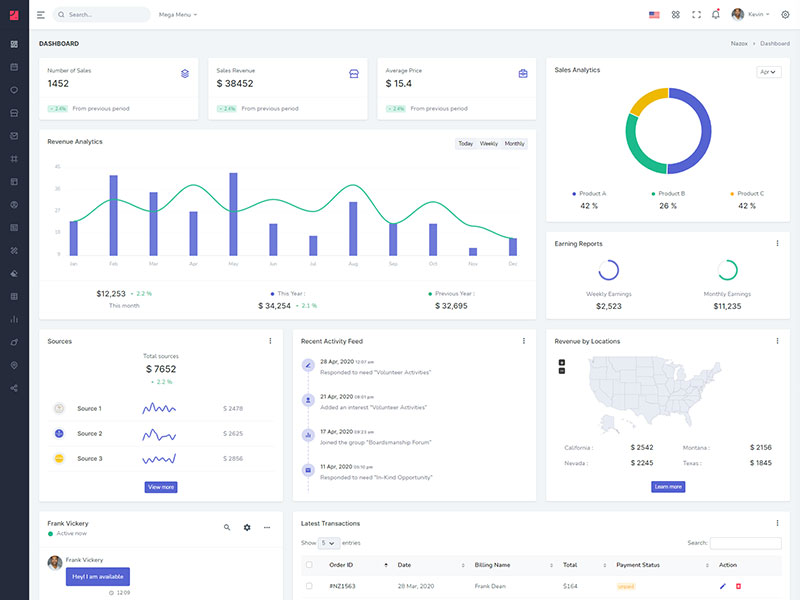
Icon Sidebar
Keep your body element with data attributedata-keep-enlarged="true" class="vertical-collpsed"
E.g.
 <body
                                                                    data-keep-enlarged="true" class="vertical-collpsed">
to have small sidebar.
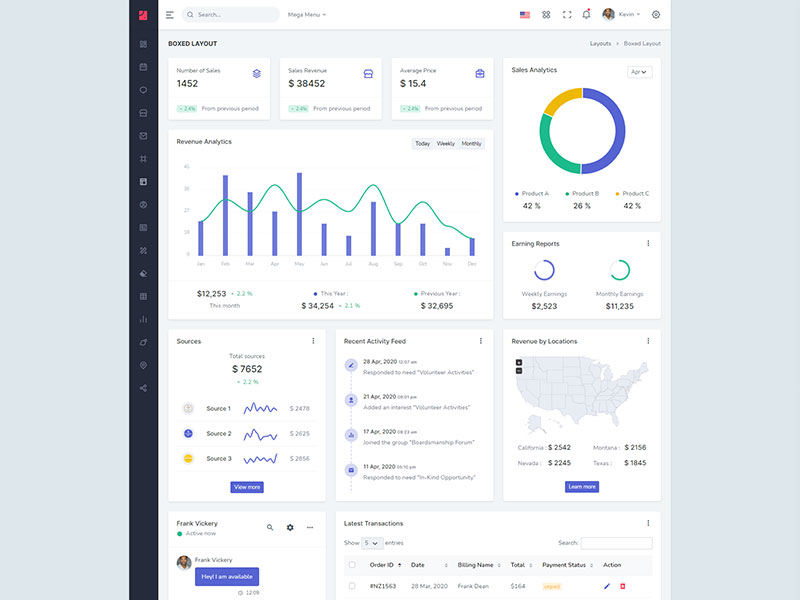
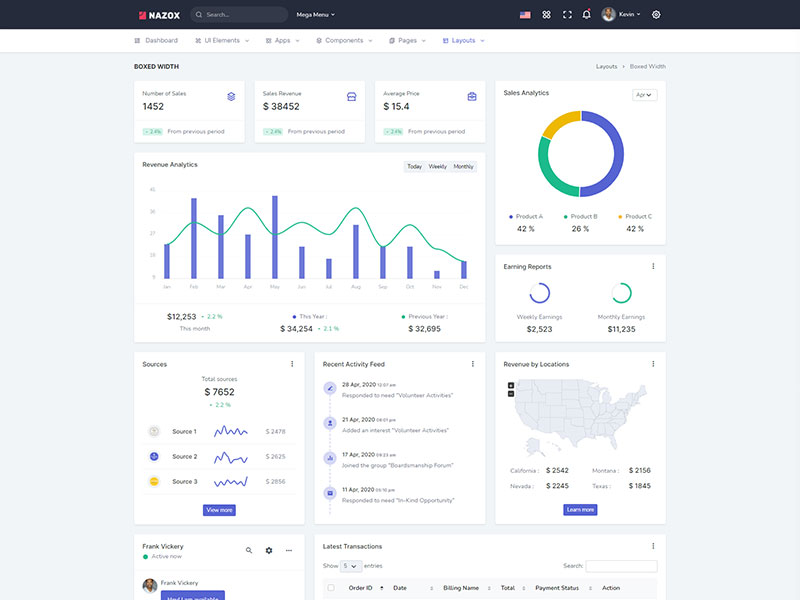
Boxed Layout
Keep your body element with data attributedata-keep-enlarged="true" class="vertical-collpsed" data-layout-size="boxed"
E.g.
 <body
                                                                    data-keep-enlarged="true"
                                                                    data-layout-size="boxed"
                                                                    class="vertical-collpsed">
to have boxed layout with icon view
sidebar.
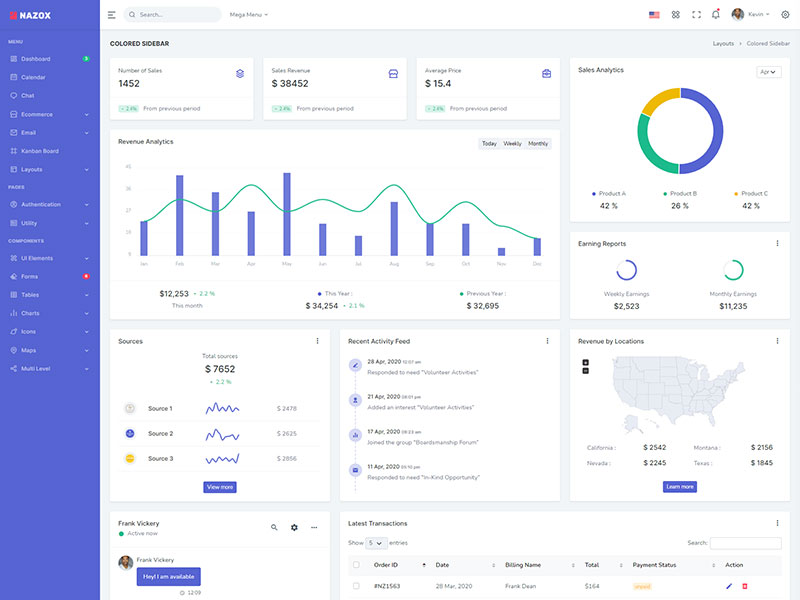
Colored Sidebar
Keep your body element with data attributedata-sidebar="colored"
E.g.
 <body
                                                                    data-sidebar="colored">
to
have colored sidebar.

Preloader
data-sidebar="light" Add below code after body tag.
<div id="preloader">
                                                                    <div id="status">
                                                                        <div class="spinner">
                                                                            <i class="uil-shutter-alt spin-icon"></i>
                                                                        </div>
                                                                    </div>
                                                                </div>
For Horizontal layout, Please include $this->include('partials/horizontal') in the app/Views/partials/menu.php
Each of the layout options is provided below with
steps you would need to perform in the app/Views/partials/body.php file:

Topbar Light
Keep your body element with data attributedata-topbar="light" data-layout="horizontal" E.g. <body data-topbar="dark" data-layout="horizontal"> to have Dark topbar and Light Menubar.
Boxed Layout
Keep your body element with data attributedata-layout-size="boxed" data-topbar="colored" data-layout="horizontal" E.g. <body data-layout-size="boxed" data-topbar="colored" data-layout="horizontal"> to have boxed layout.
Colored Header
Keep your body element with data attributedata-layout="horizontal" data-topbar="colored" E.g. <body data-topbar="colored" data-layout="horizontal"> to have Scrollable Layout.
Multi-Language Settings
For official documentation of Codeigniter you can follow https://codeigniter4.github.io/userguide/outgoing/localization.html.
Please follow the below steps to add a new language.
-
Set default language from the
app/Config/App.php.
$defaultLocale= 'en';and in supported language$supportedLocales = ['en', 'es', 'de', 'it', 'ru'];
and setpublic $baseURL = 'https://yourdomain.com/'; -
All the files of each language are located in
app/Language. You can create a new language folder by referring to the English language. -
You need to add a new language in the topbar dropdown in the file
app/Views/partials/topbar.phpandapp/Views/partials/horizontal.phpfile. -
It is managed by the backend in the file
app/Controllers/Language.php.
You can use<?= lang('Files.Search') ?>to translate "Search" keyword in supported languages.
Tips
CSS: We suggest you do not change any scss files from the assets/scss/custom folders because to get new updates will break your CSS changes if any you have made. We strongly suggest you create a new custom.css file and use that instead of overwriting any template's custom CSS files.