Setup ASP Core
Reactly is build in ASP.NET MVC 5 and ASP.net Core 8 web app using Visual Studio 2022. Please follow below steps to install and setup all prerequisites:
Prerequisites
Please follow below steps to install and setup all prerequisites:
-
Visual Studio
Make sure to have the Latest Visial Studio installed & running on your computer. If you already have installed latest Visual Studio on your computer, you can skip this step.
Installation
To setup the admin theme, follow below-mentioned steps:
-
Install Prerequisites
Make sure to have all above prerequisites installed & running on your computer
After you finished with the above steps, you can run the following commands to run the project locally or build for production use:
| Command | Description |
|---|---|
Open Solution file
|
Open ReactlyASP.sln file with Visual studio and make sure to check asstes folder contain libs folder. |
ASP .NET Core Vertical Layouts
You can change or customize the left side navigation very easily.
How to add new menu items/change menu items?
In order to add, change or remove menu items from the left side navigation, simply edit in file
Pages/Shared/_Lesidebar.cshtml. The change would reflect in all the html files automatically.
We are using gulp-file-include which would actually take
care of including the _leftsidebar.cshtml file content in all the html pages.
How to use pre-built layouts?
Each of the layout options is provided below with steps you would need to perform:
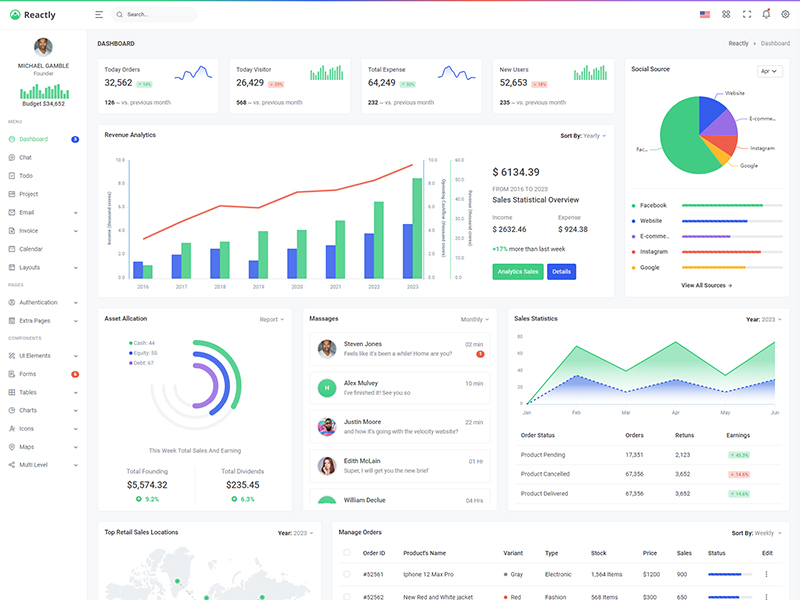
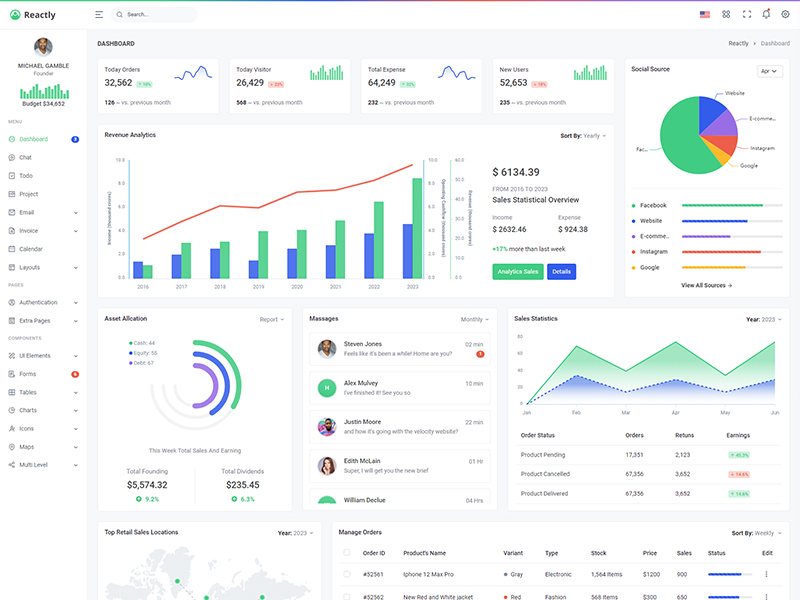
Light Sidebar
Remove data attributedata-sidebar="light" body element to have light sidebar.
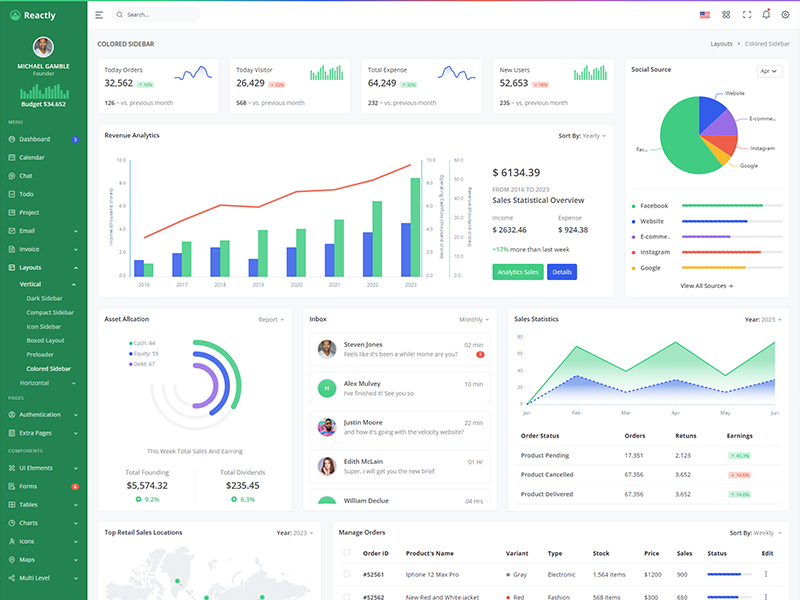
Colored Sidebar
Add data attributedata-sidebar="colored" body element to have Colored sidebar.
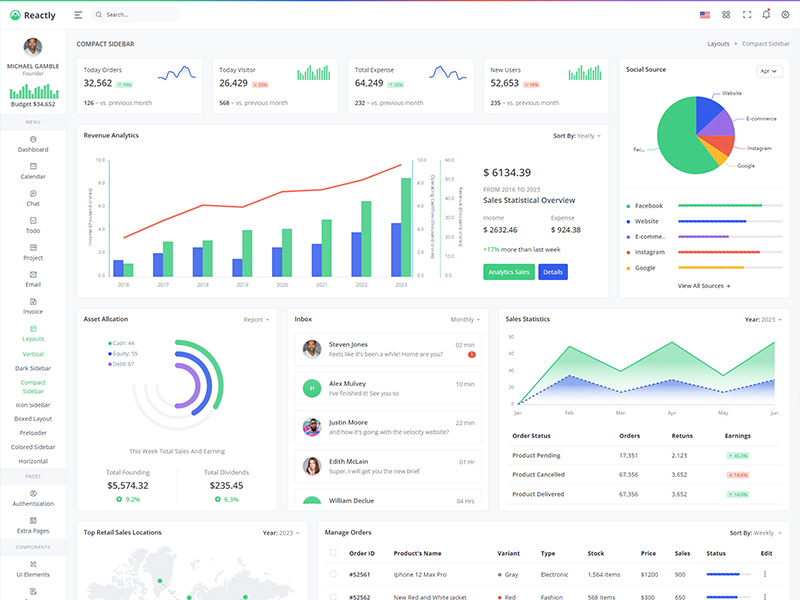
Compact Sidebar
Keep your body element with data attributedata-sidebar-size="small" E.g. <body data-sidebar-size="small"> to have small sidebar.
Icon Sidebar
Keep your body element with classvertical-collpsed" E.g. <body class="vertical-collpsed"> to have icon sidebar.
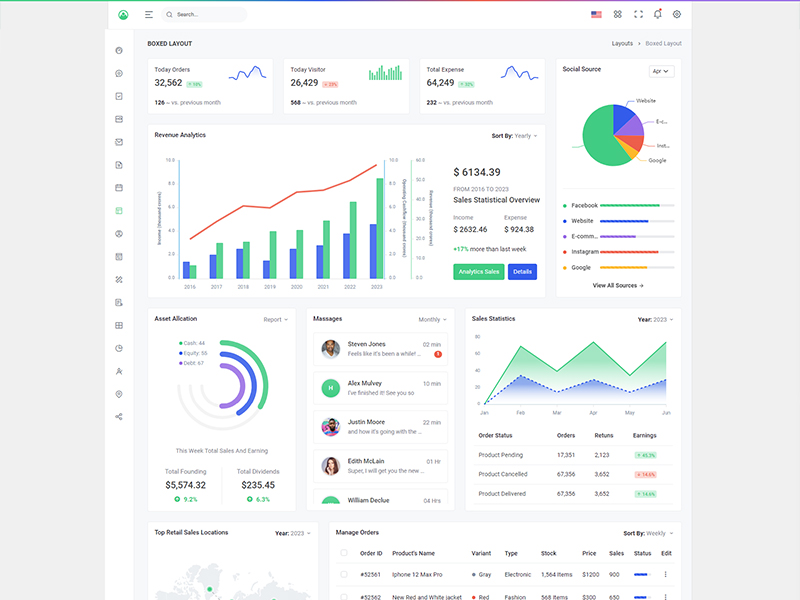
Boxed Layout
Keep your body element with classvertical-collpsed and data attribute data-layout-size="boxed" data-keep-enlarged="true" E.g. <body class="vertical-collpsed" data-layout-size="boxed" data-keep-enlarged="true"> to have boxed layout with icon view sidebar.
Preloader
In order to add pre-loader in your page, include following html afterbody element.
<div id="preloader">
                                                <div id="status">
                                                <div class="spinner-chase">
                                                <div class="chase-dot"></div>
                                                <div class="chase-dot"></div>
                                                <div class="chase-dot"></div>
                                                <div class="chase-dot"></div>
                                                <div class="chase-dot"></div>
                                                <div class="chase-dot"></div>
                                                </div>
                                                </div>
                                                </div>
ASP.NET Core Horizontal Layouts
If you would like to have Horizontal Menu (or Topnav) based layout,
-
You can use Horizontal folder for horizontal layout and if you want to change layout from vertical to hoizontal then perform the below changes.
You need to update the below code in thePages/Shared/layout.html
<body data-layout="horizontal" data-topbar="colored">@@include('horizontal.cshtml')It will set horizontal layouts in all the pages.
In order to add, change or remove any ui elements from the topbar, simply edit in
file
Pages/Shared/horizontal.cshtml.
The change would reflect in all the files automatically.
How to use pre-built layouts?
Each of the layout options is provided below with steps you would need to perform:
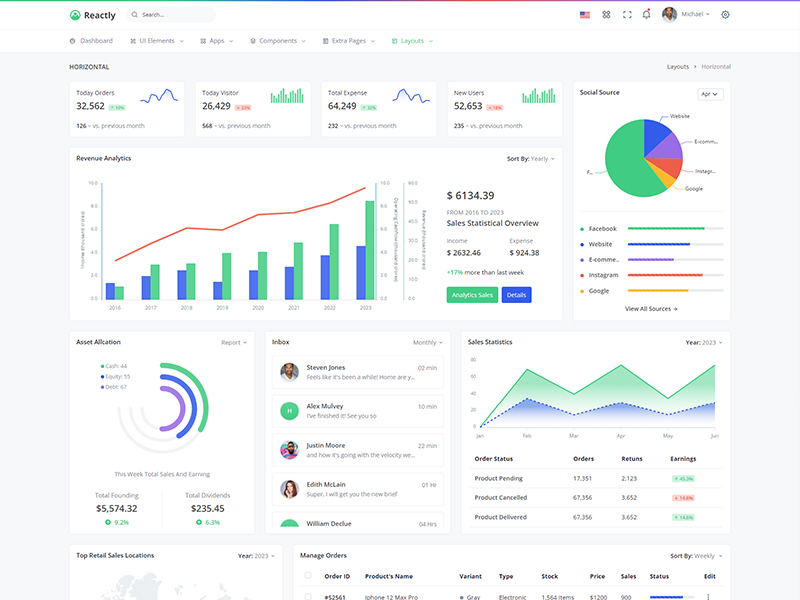
Topbar Light
Keep your body element with data attributedata-topbar="light" data-layout="horizontal" E.g. <body data-topbar="light" data-layout="horizontal"> to have light topbar and dark menubar.
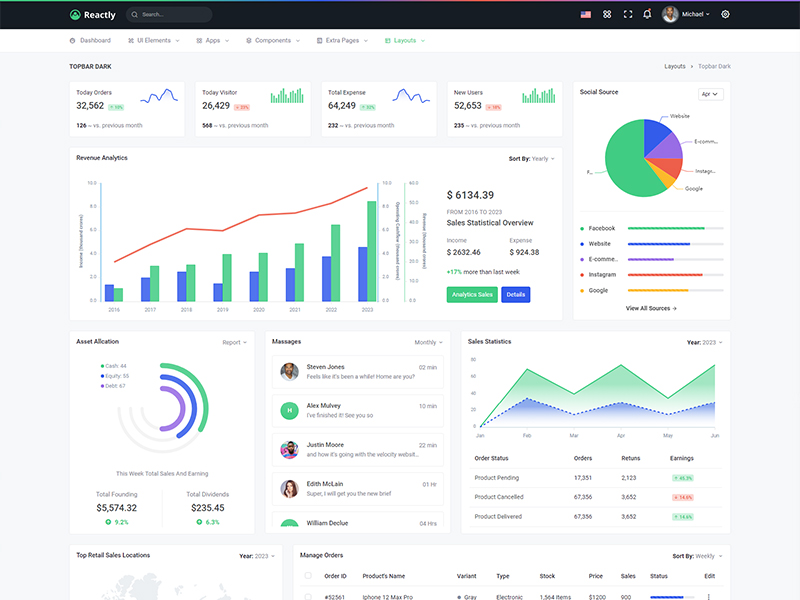
Topbar Dark
Keep your body element with data attributedata-topbar="dark" data-layout="horizontal" E.g. <body data-topbar="dark" data-layout="horizontal"> to have light topbar and dark menubar.
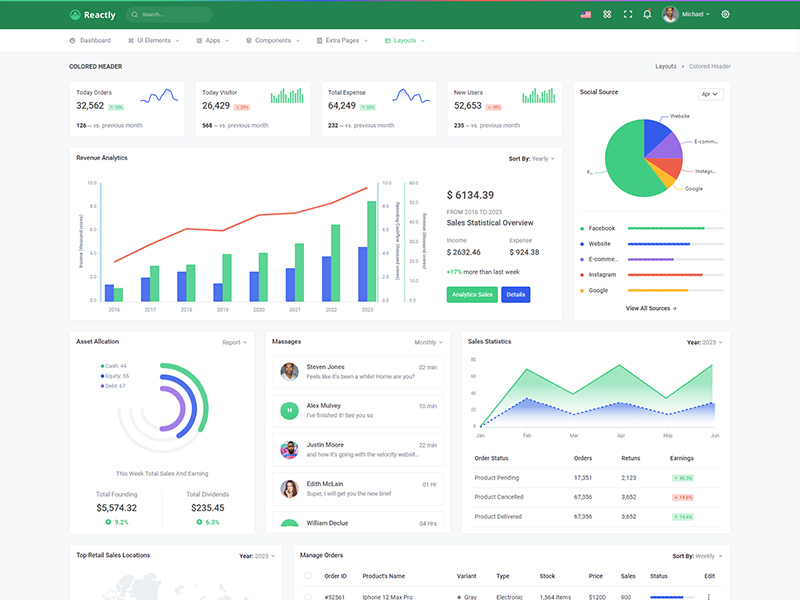
Colored Header
Keep your body element with data attributedata-layout-size="boxed" data-layout="horizontal" E.g. <body data-layout-size="boxed" data-layout="horizontal"> to have boxed layout.
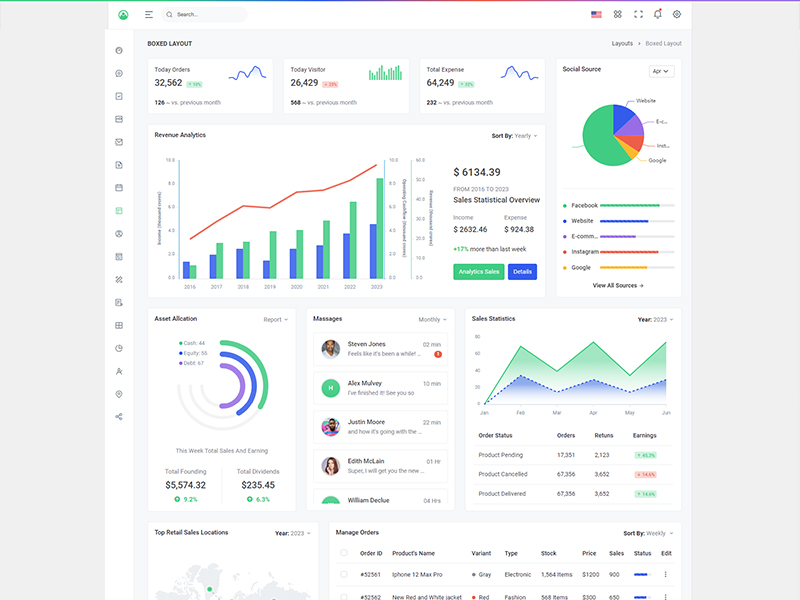
Boxed Width
Keep your body element with data attributedata-layout-size="boxed" data-layout="horizontal" E.g. <body data-layout-size="boxed" data-layout="horizontal"> to have boxed layout.
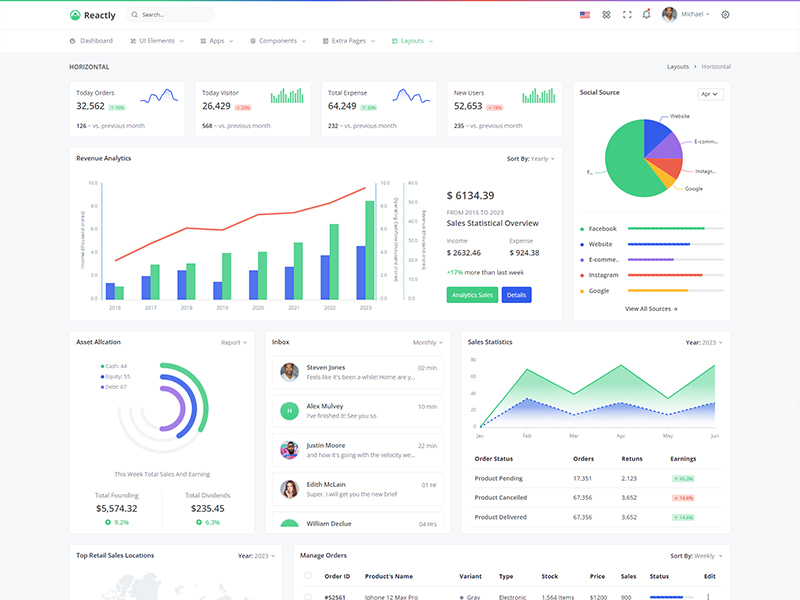
Preloader
In order to add pre-loader in your page, include following html afterbody element.
<div id="preloader">
                                                        <div id="status">
                                                        <div class="spinner-chase">
                                                        <div class="chase-dot"></div>
                                                        <div class="chase-dot"></div>
                                                        <div class="chase-dot"></div>
                                                        <div class="chase-dot"></div>
                                                        <div class="chase-dot"></div>
                                                        <div class="chase-dot"></div>
                                                        </div>
                                                        </div>
                                                        </div>
Feel free to contact us via support from Themeforest for any query.