Get started with Tailwick
Tailwick works by scanning all of your EJS files, JavaScript components, and any other templates for class names, generating the corresponding styles and then writing them to a static CSS file.
It's fast, flexible, and reliable — with zero-runtime.
-
Prerequisites
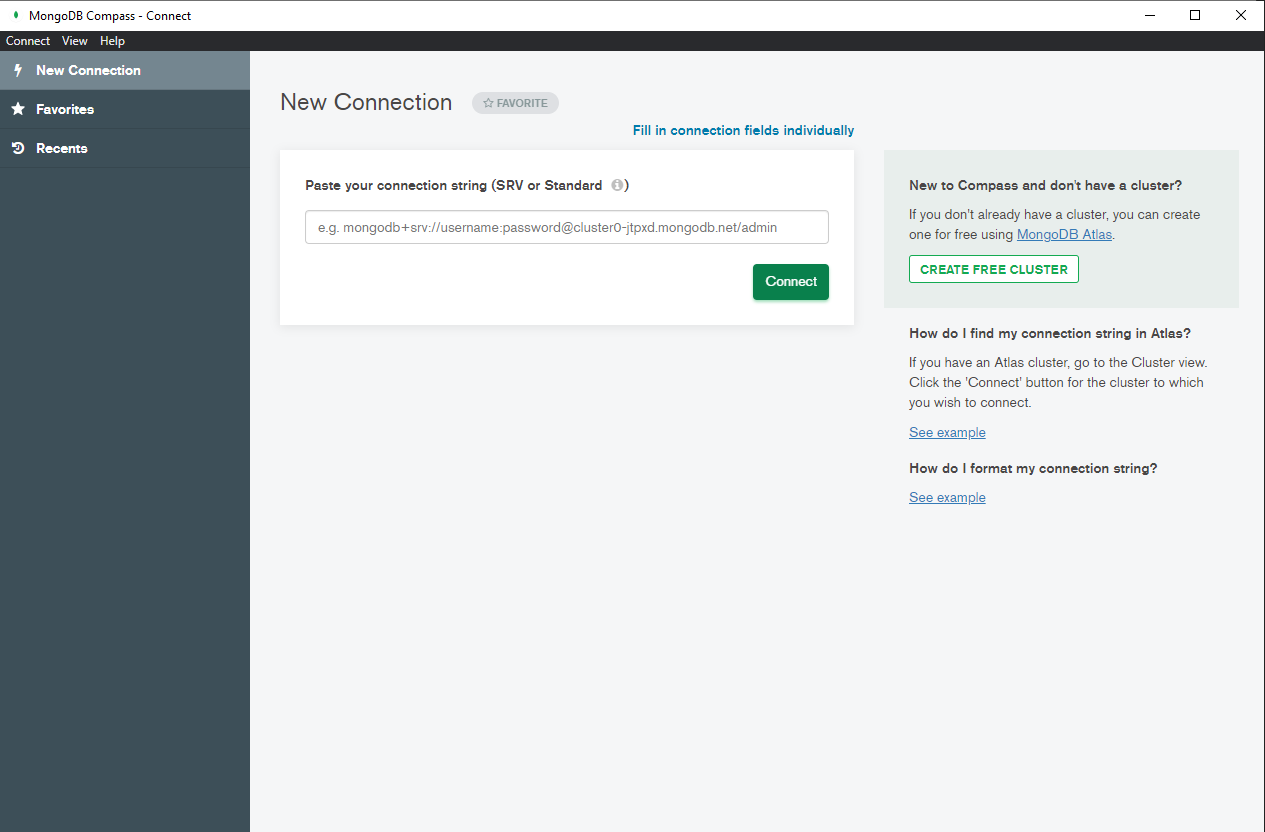
-MongoDB Compass(option 1)
STEP-1: open compass and connect with localhost
-MongoDB Atlas(option 2)
Make sure to have Account in MongoDB Atlas. If you don't have account then create Atlas account and follow below steps to connect with MongoDb Atlas.
STEP-1: Create account
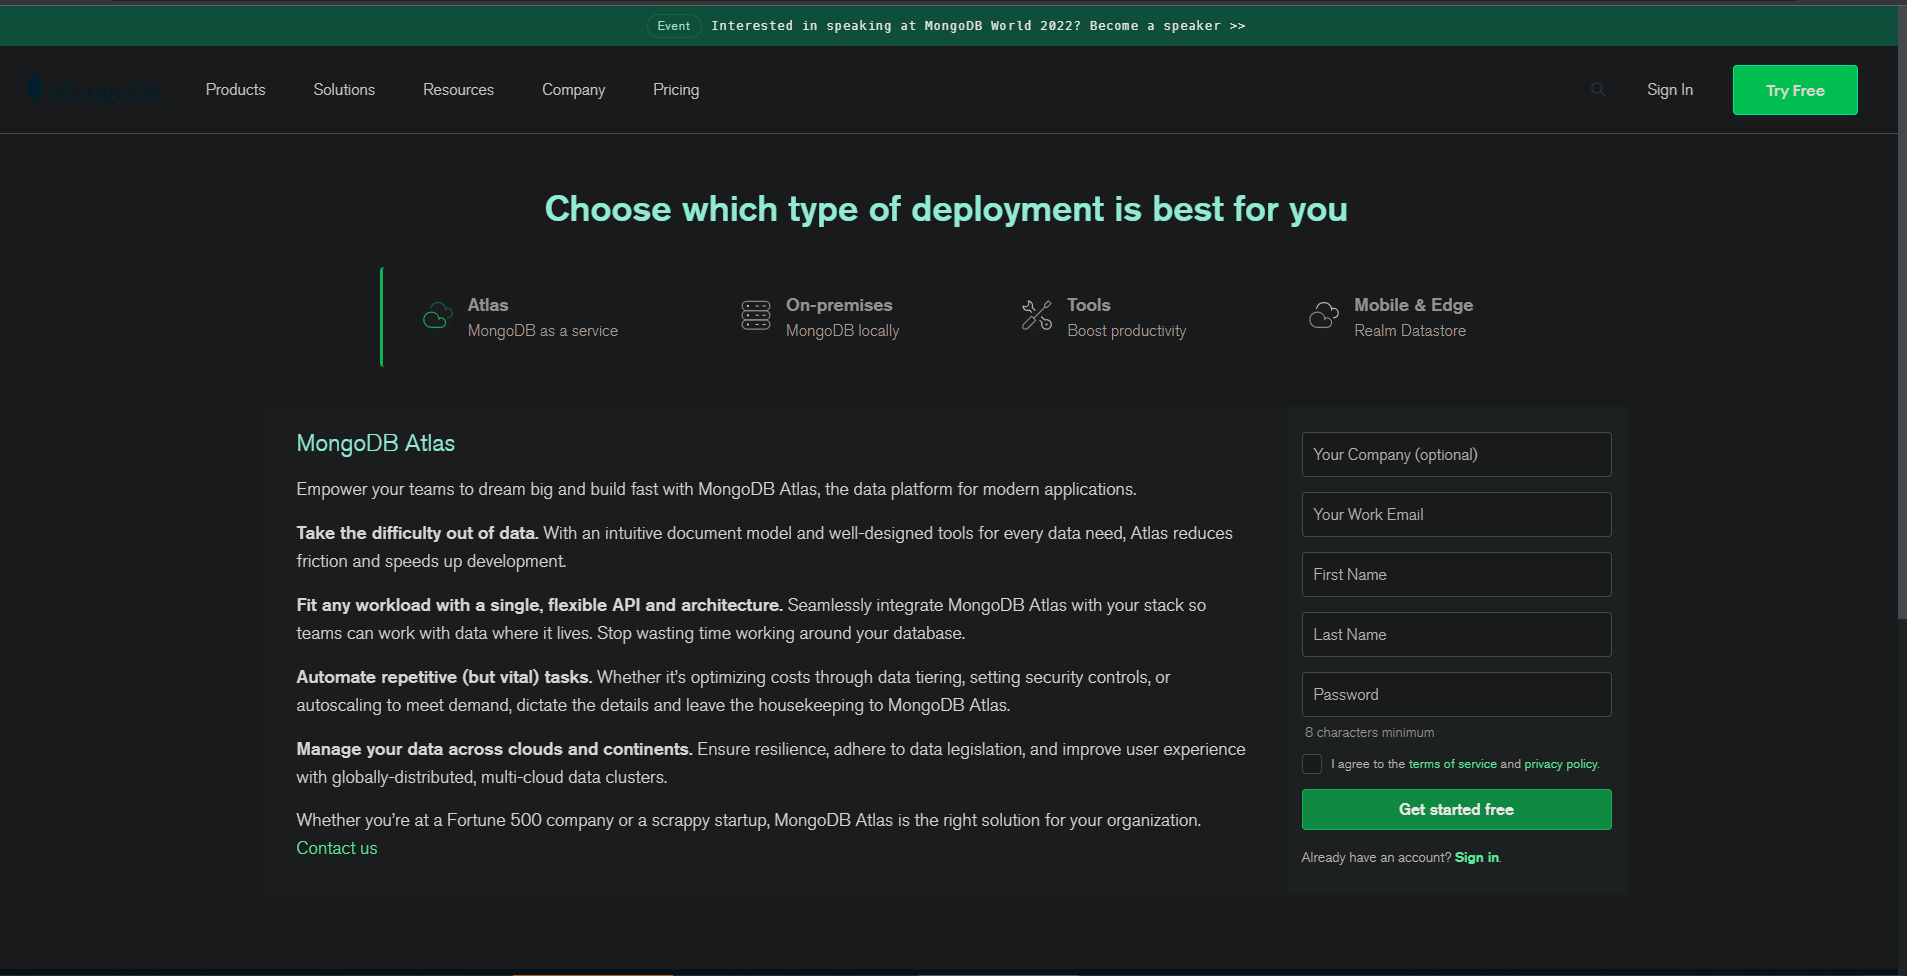
STEP-2: After verifying email click on build Database
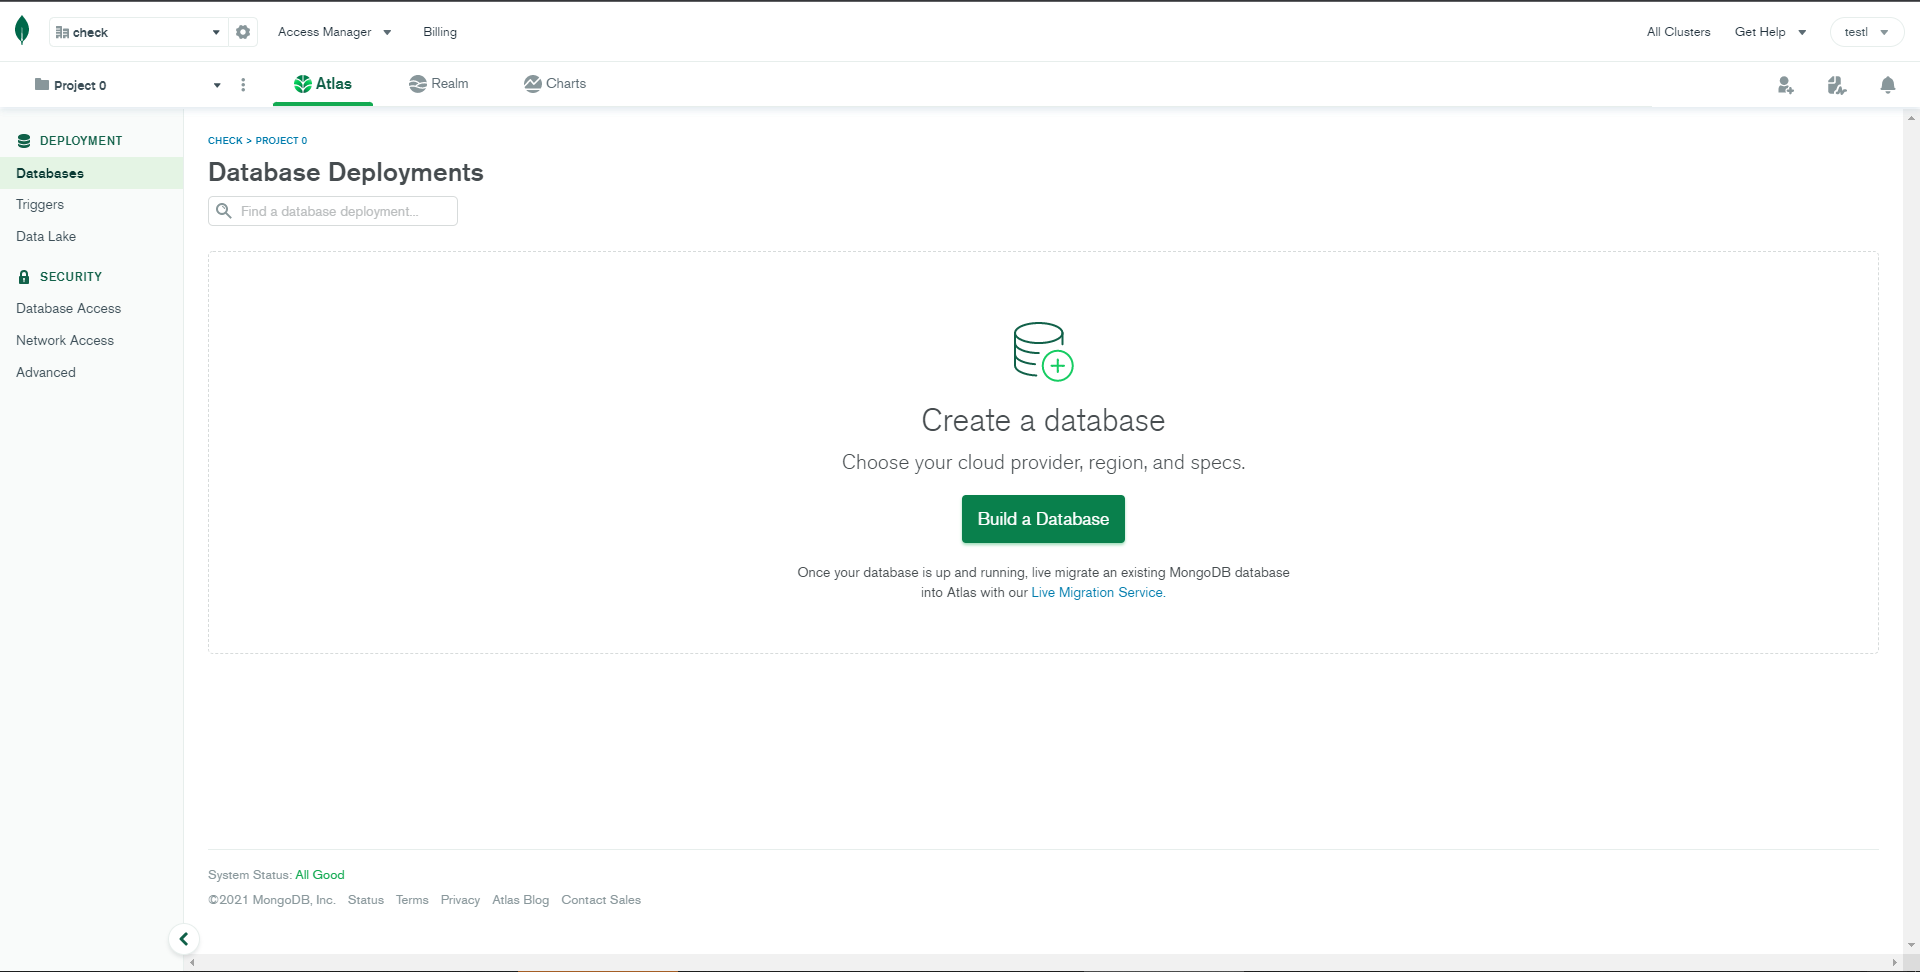
STEP-3: Choose shared database for free...
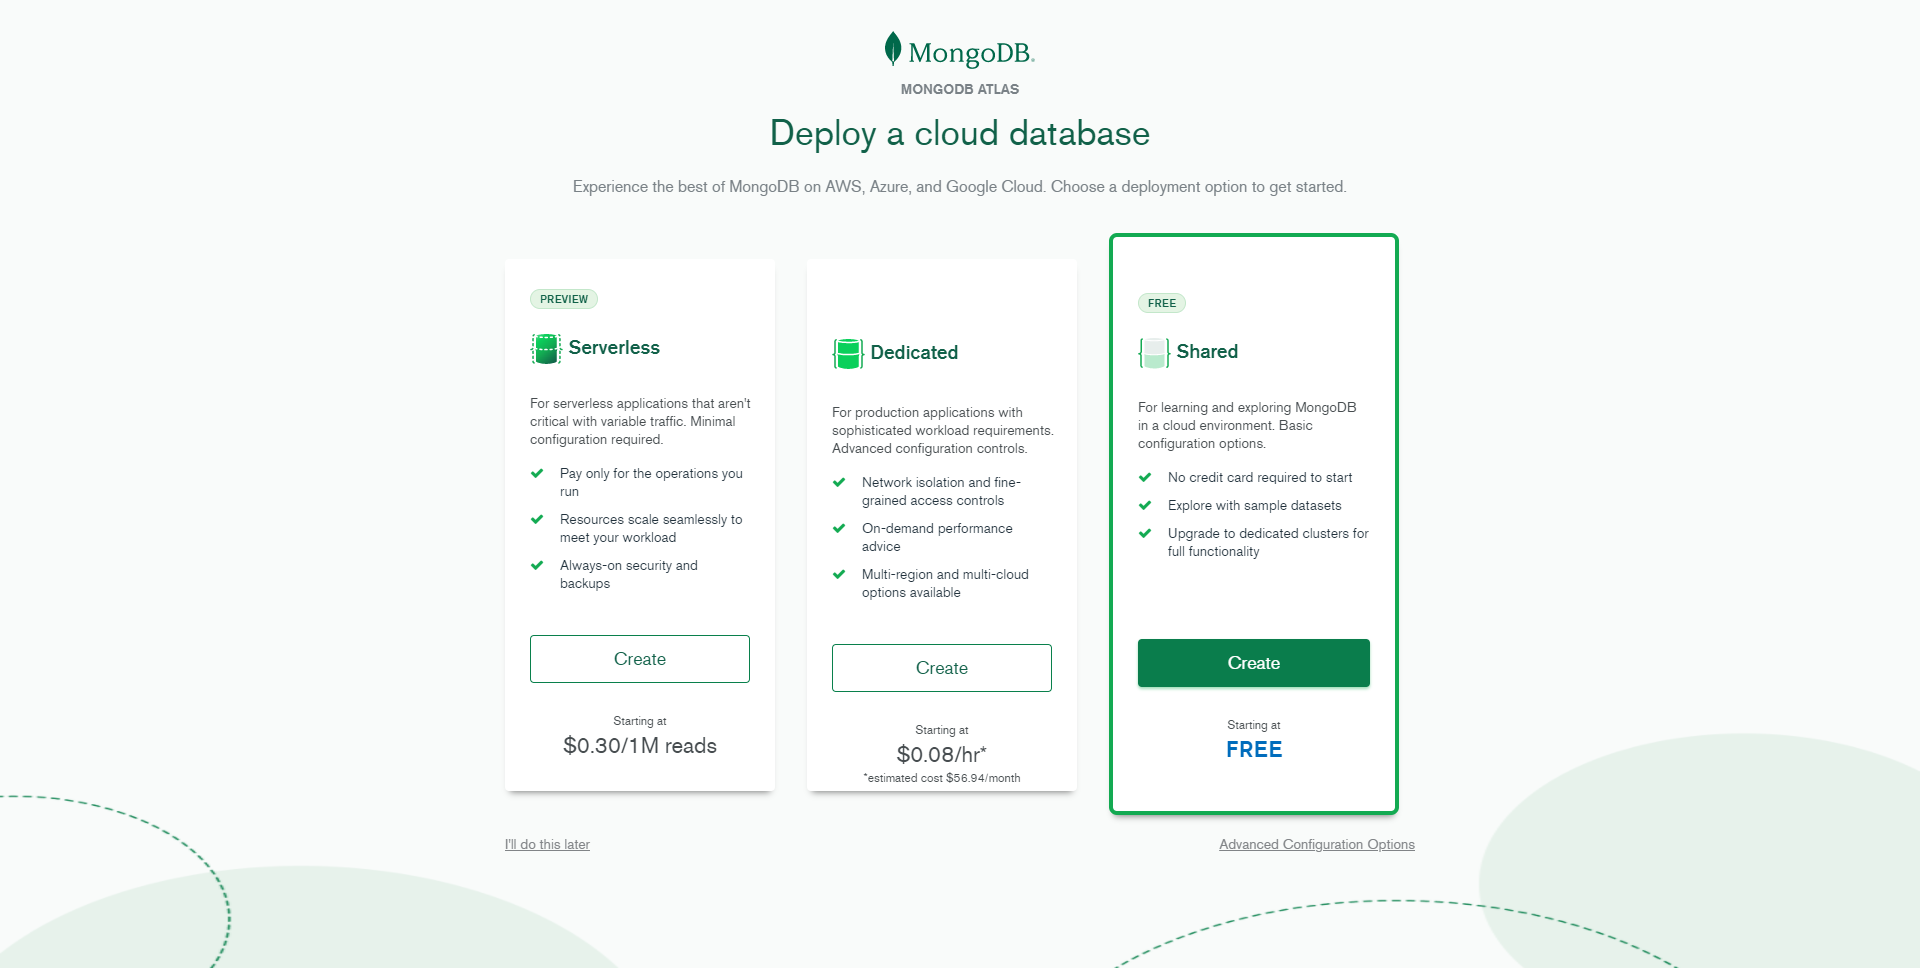
STEP-4: Click on
create clusterand enter Database username and password and click on create.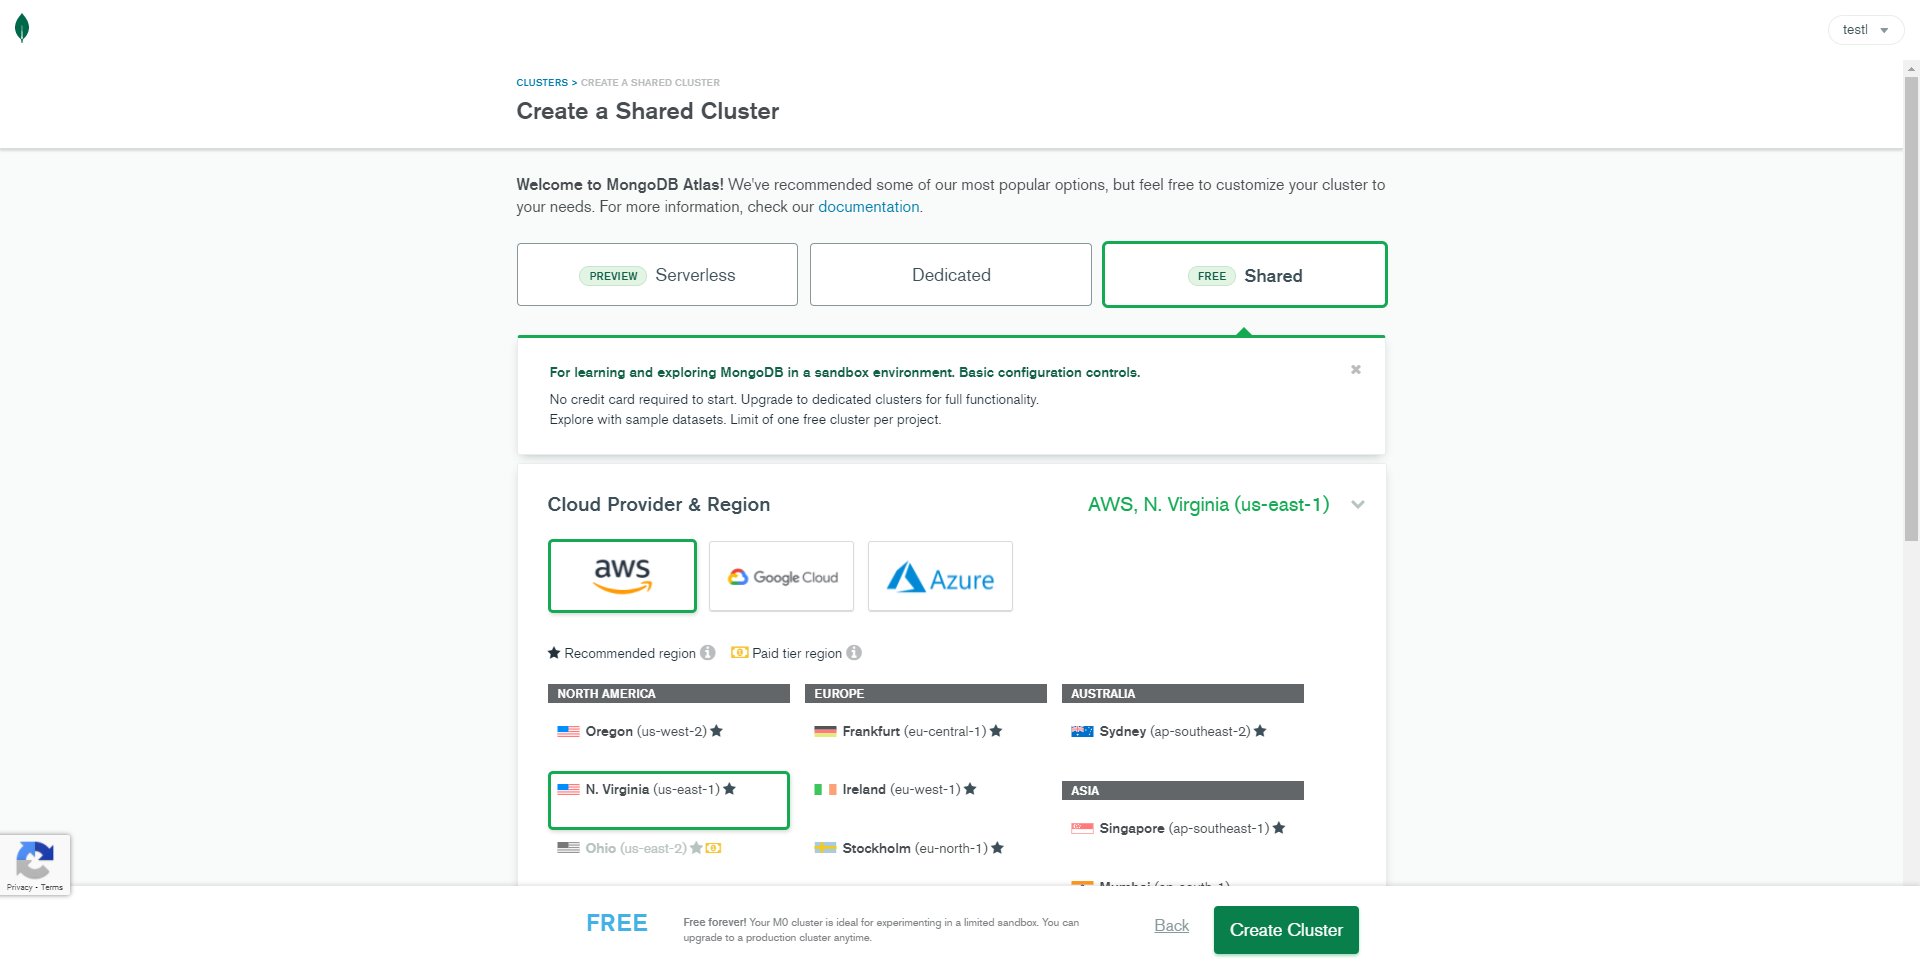
STEP-5: Wait until the process is completed and then click on
connect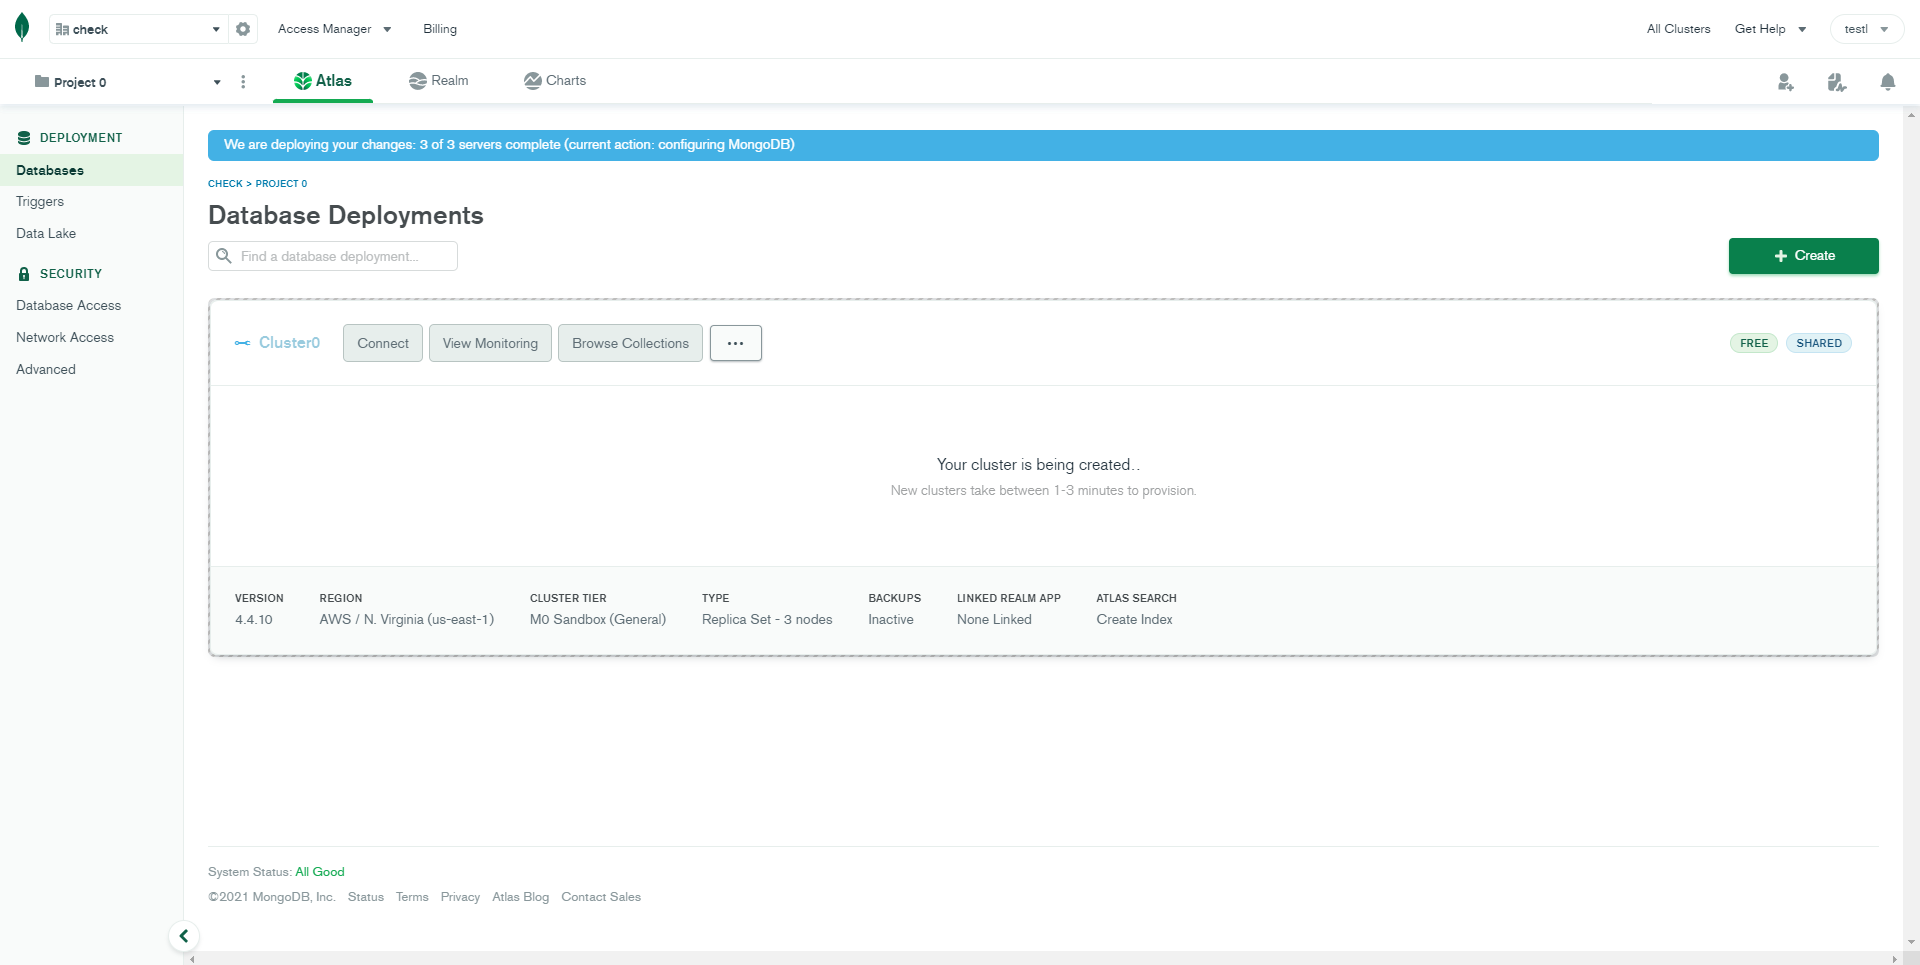
STEP-6: Select your current ip address and click on create database user.
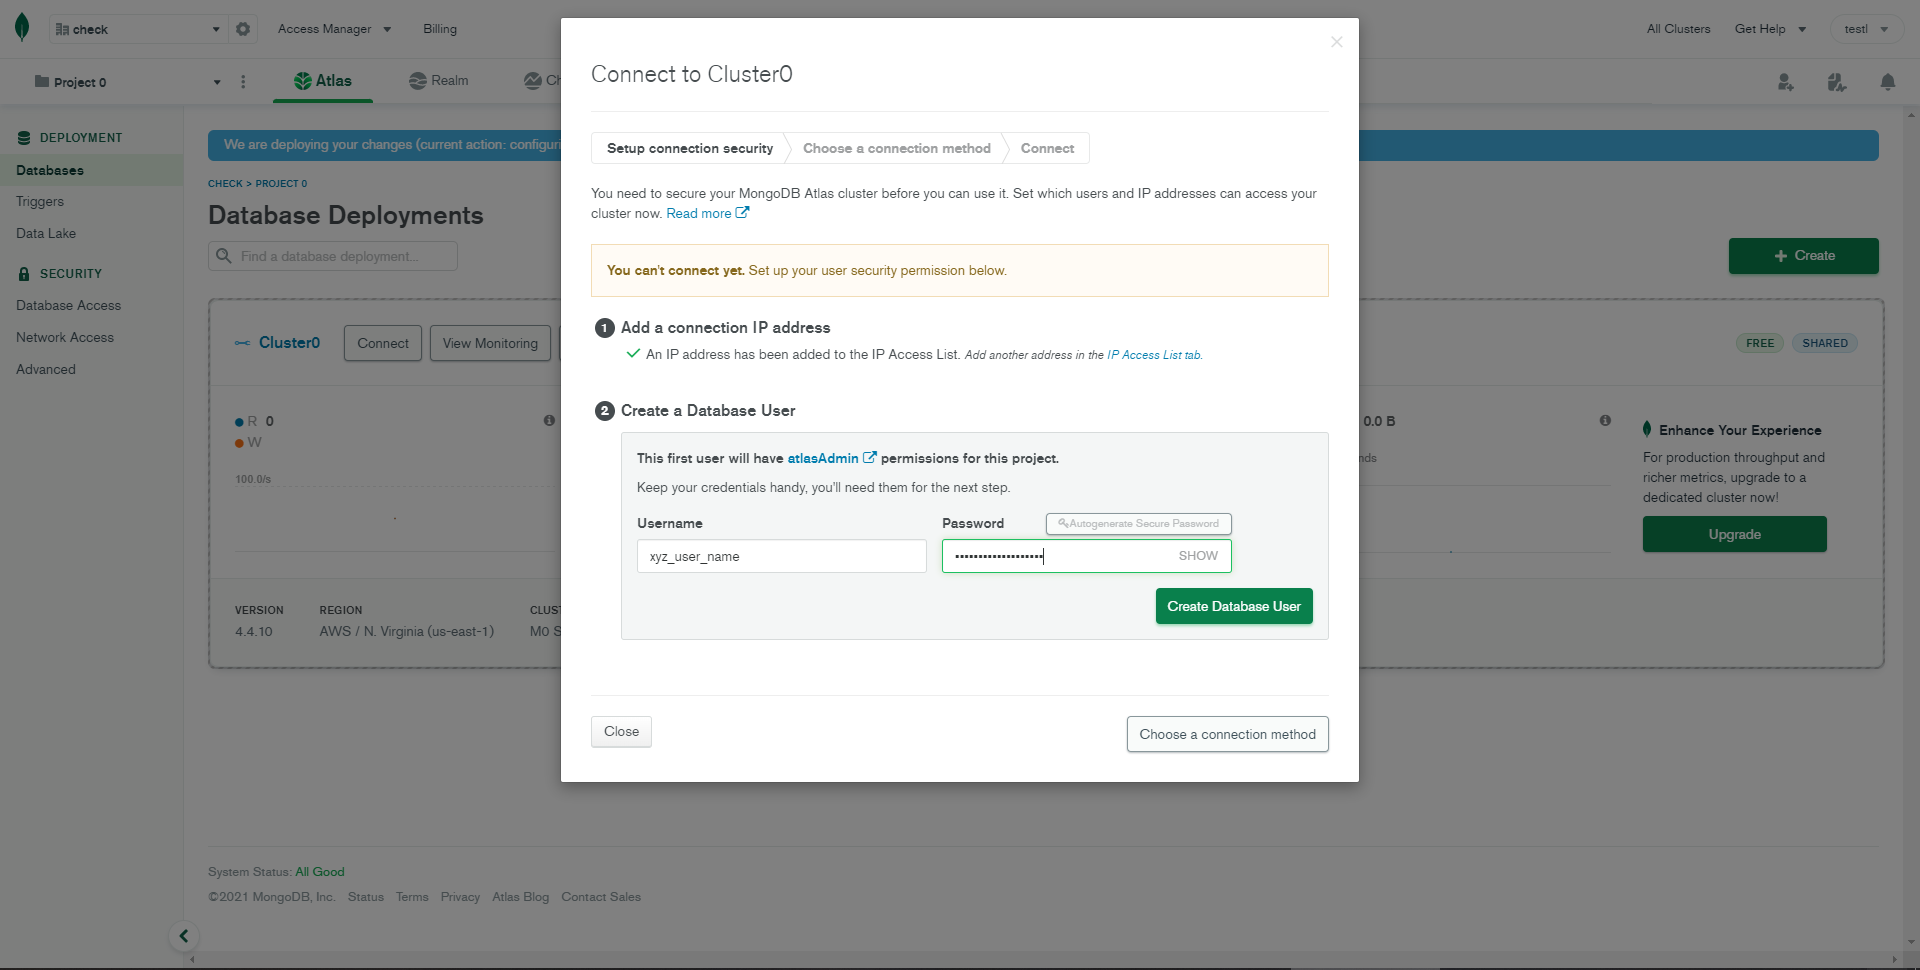
STEP-7: After finish above step then click on Choose connection method.
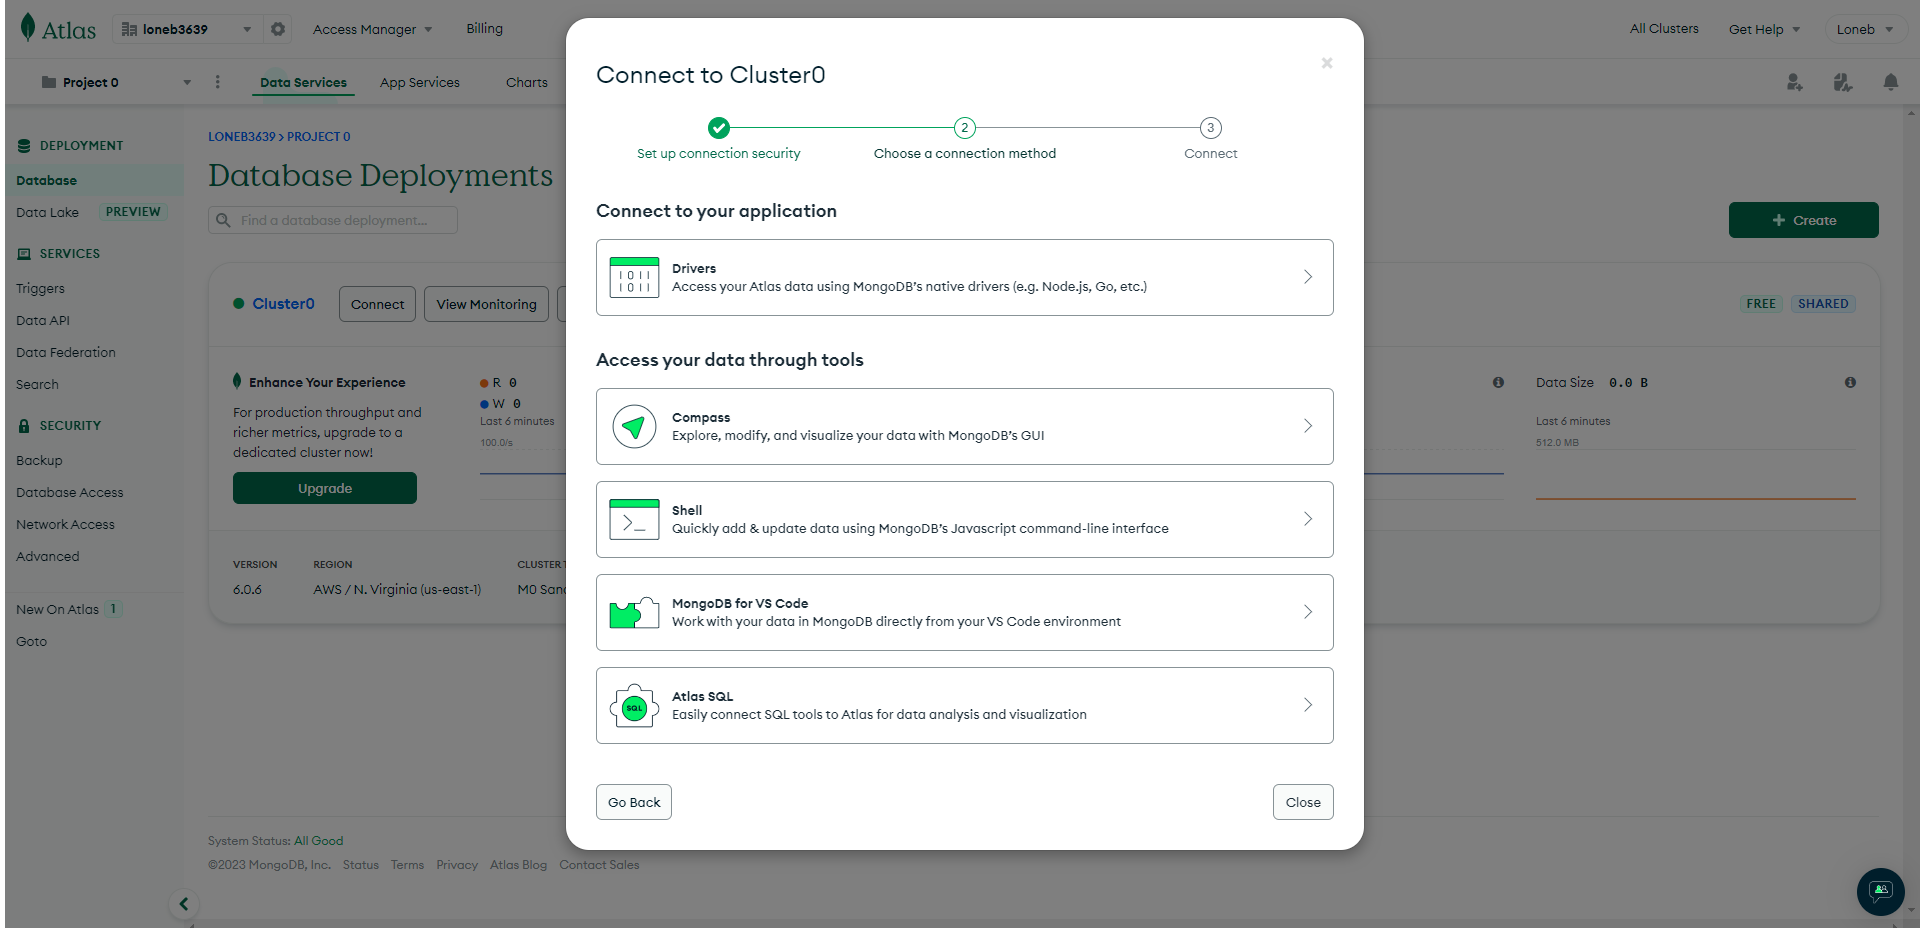
STEP-8: Now copy the given link and close the model
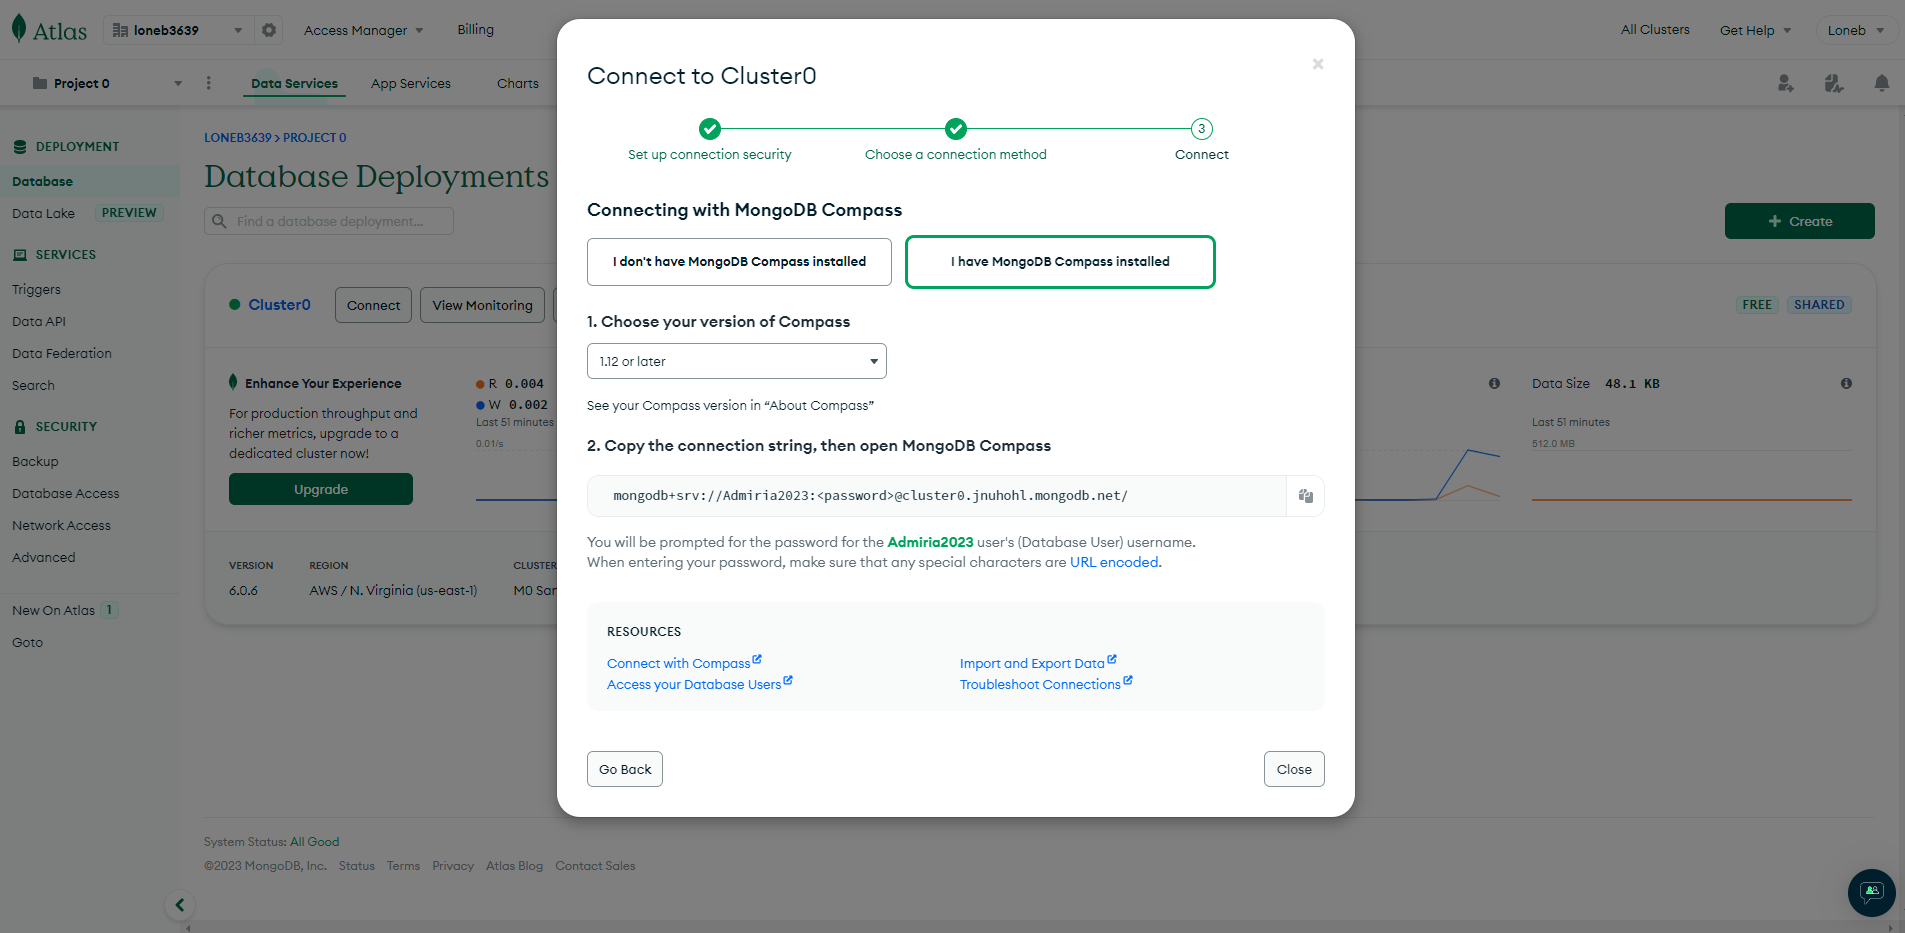
STEP-9: Now Open config.env and then paste the connection string in
DATABASE_URL=.STEP-10: Now click on
Collectionsand then clickAdd My Own Data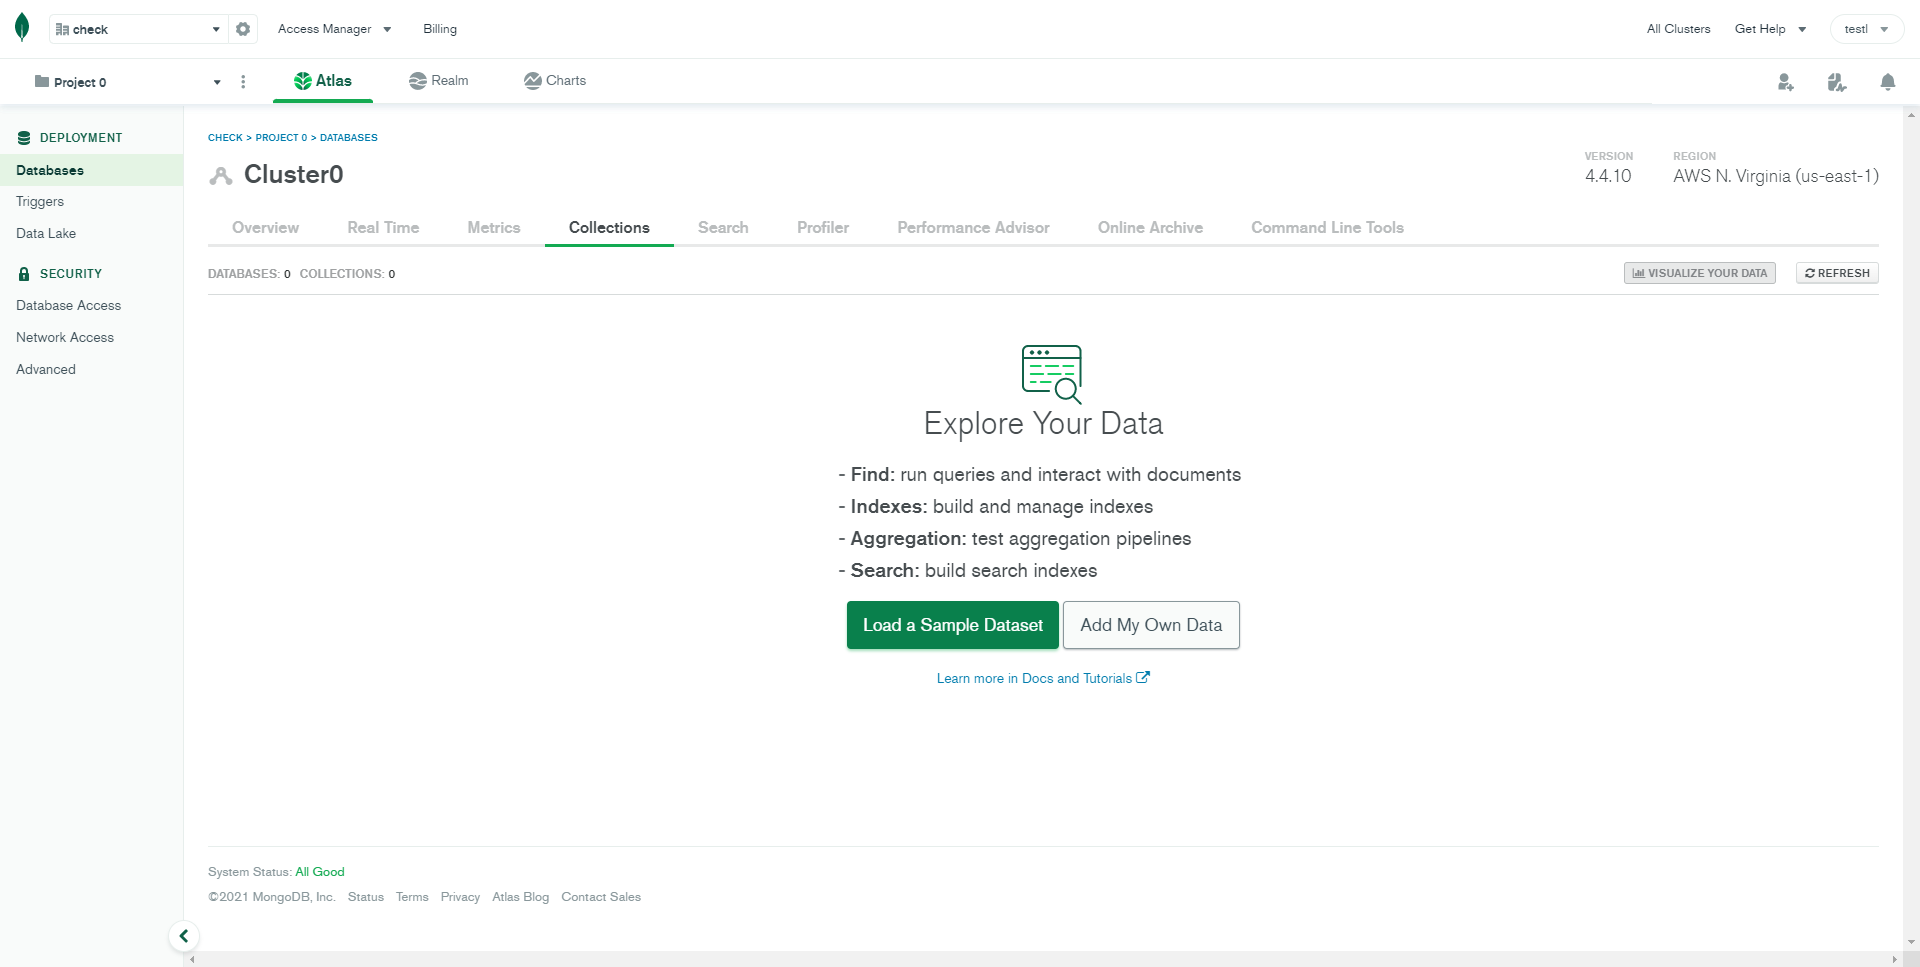
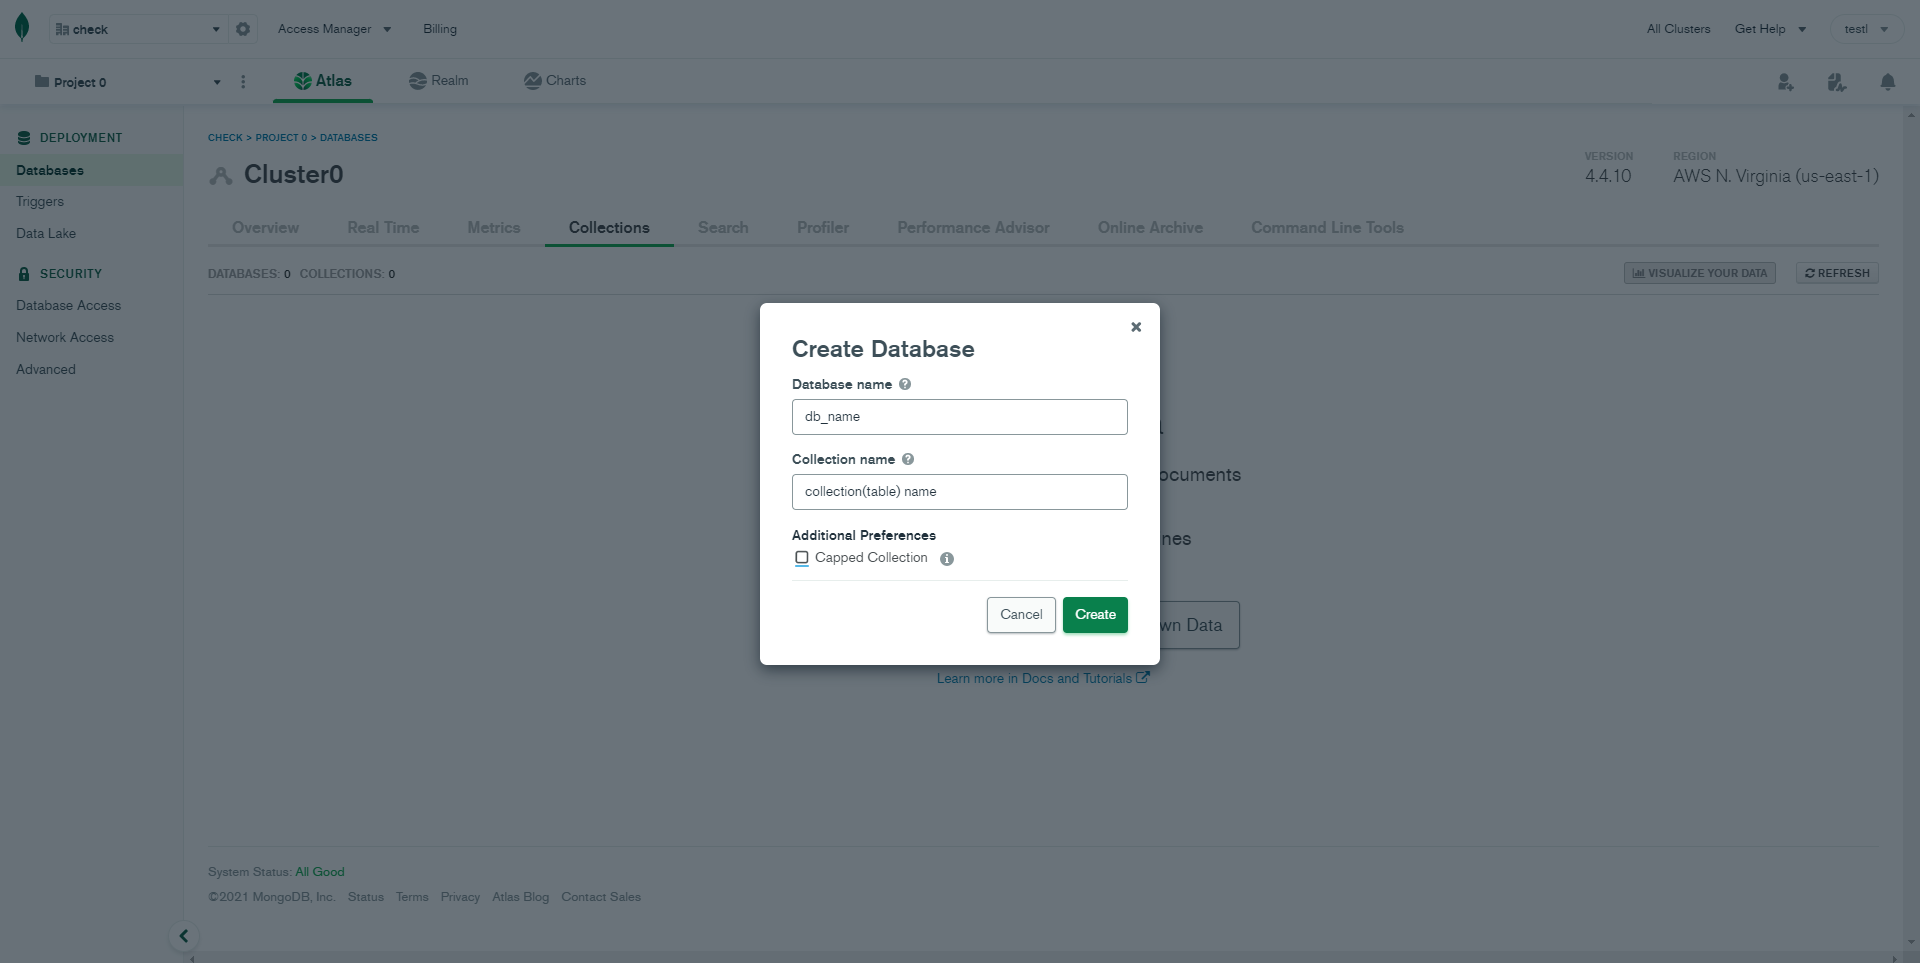
STEP-11: Then Enter your database name and collection(table) name
Installation
Install Node (Recommended Node.js version: >18)
Make sure to have the Node.js installed & running in your computer. If you already have installed Node on your computer, you can skip this step if your existing node version is greater than 18.
This would install all the required dependencies in the node_modules folder.
npm install
or
npm i
Generates a /dist & libs directory with all the production files.
npm run build
Runs the project locally, starts the development server and watches for any changes in your code, including your EJS, javascript, sass, etc. The development server is accessible at http://localhost:8080.
npm start