Setup HTML
Introduction
We are using gulp which allows having complete automation for build flow. In case if you don't know Gulp then it's easy to use it. Gulp is a toolkit for automating painful or time-consuming tasks in the development workflow, so you can stop messing around while building any project. You can read it more about it here. Please follow below steps to install and setup all prerequisites:
Symox is a fully featured Node.js Responsive Template with MongoDB .
Prerequisites
Please follow below steps to install and setup all rerequisites:
-
Nodejs
Make sure to have Node.js installed & running on your computer. If you already have installed Node on your computer, you can skip this step if your existing node version is 22 or later. We suggest you to use LTS version of Node.js.
-
MongoDB Compass
Make sure to have the MongoDB Compass installed & running in your computer. If you already have installed MongoDB Compass on your computer, you can skip this step. MongoDB Compass version must be greater then equal to 1.45.
-
Database
-MongoDB Compass(option 1)
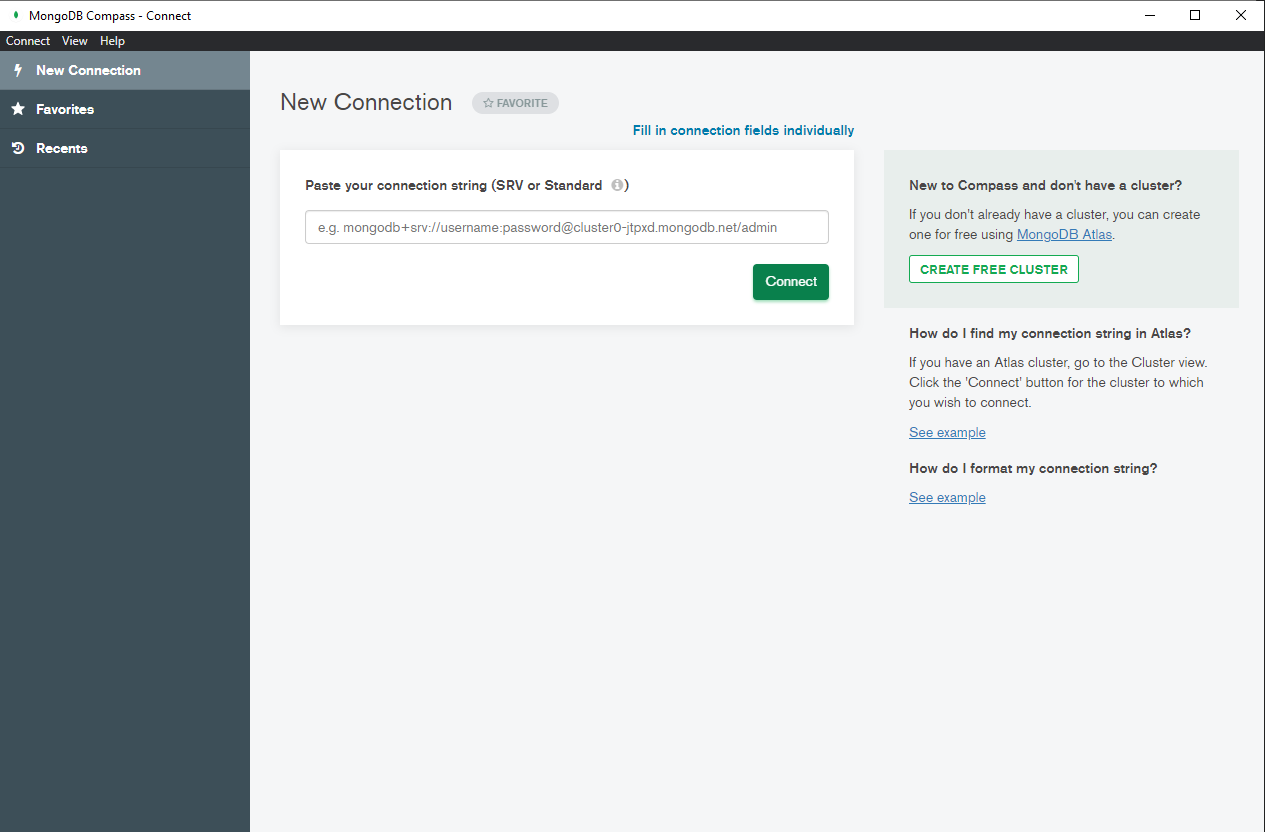
STEP-1: open compass and connect with localhost
-MongoDB Atlas(option 2)
Make sure to have Account in MongoDB Atlas. If you don't have account then create Atlas account and follow below steps to connect with MongoDb Atlas.
STEP-1: Create account

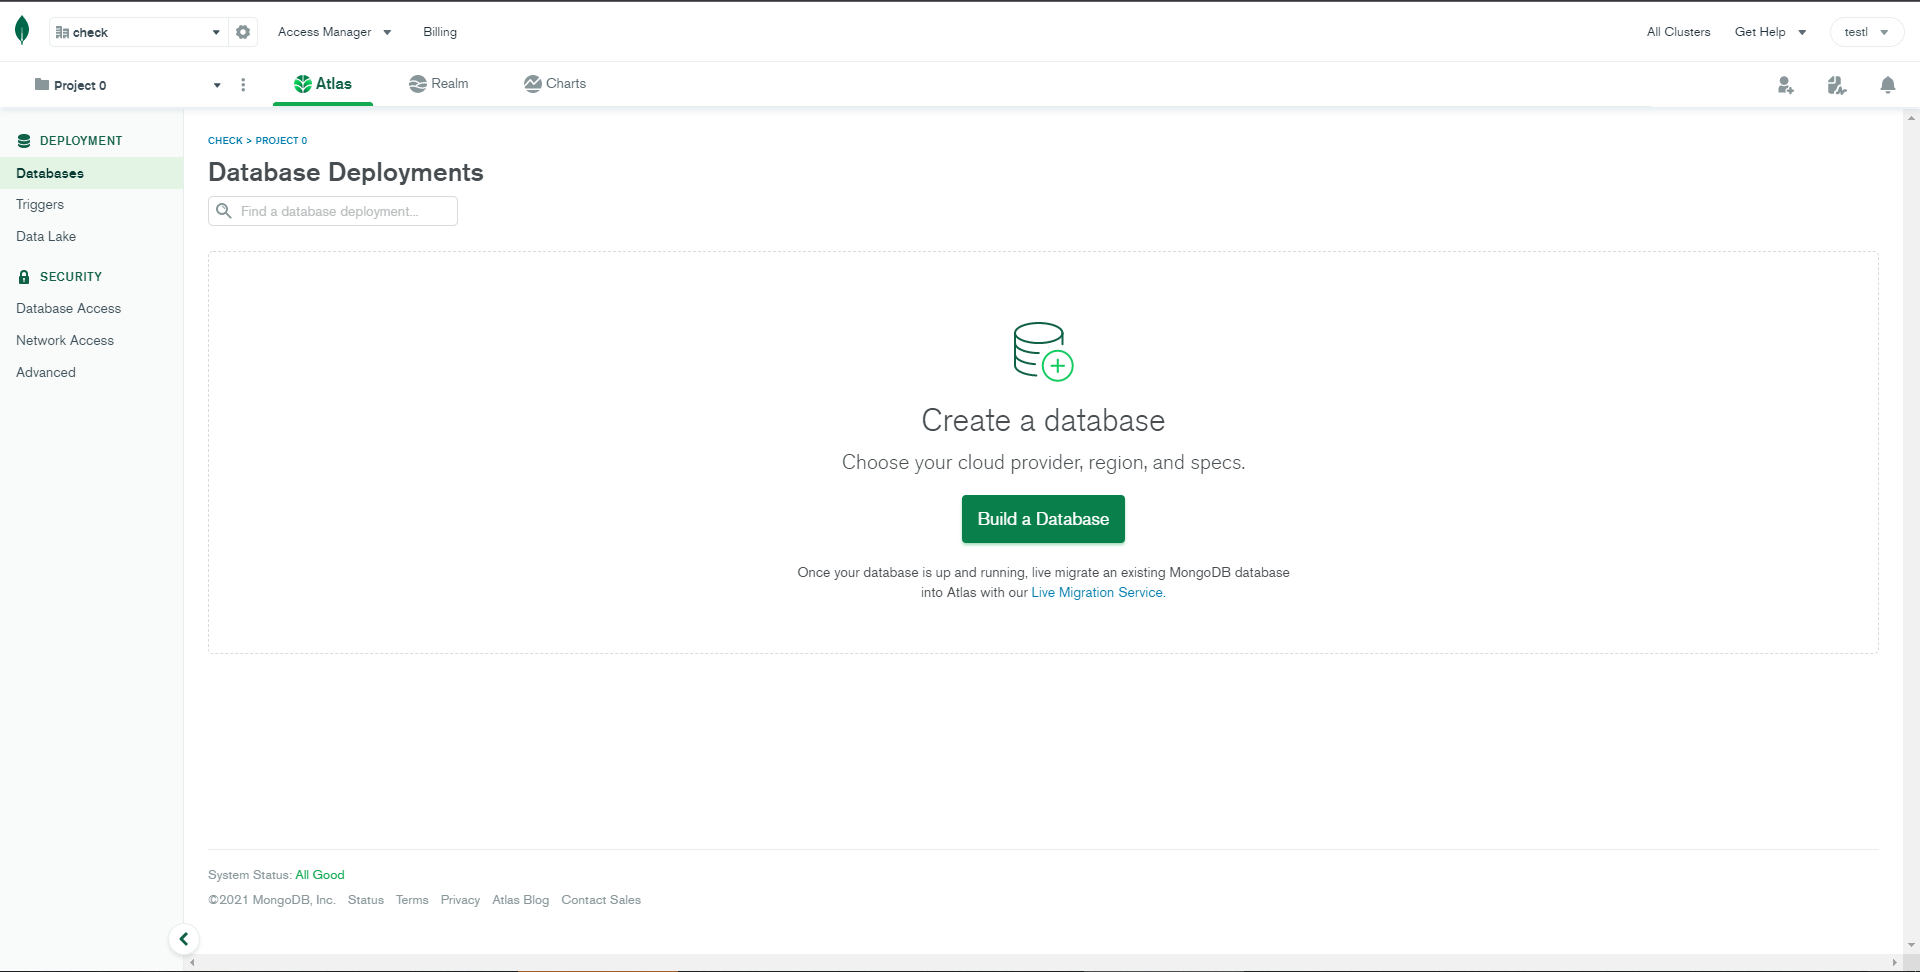
STEP-2: After verifying email click on build Database
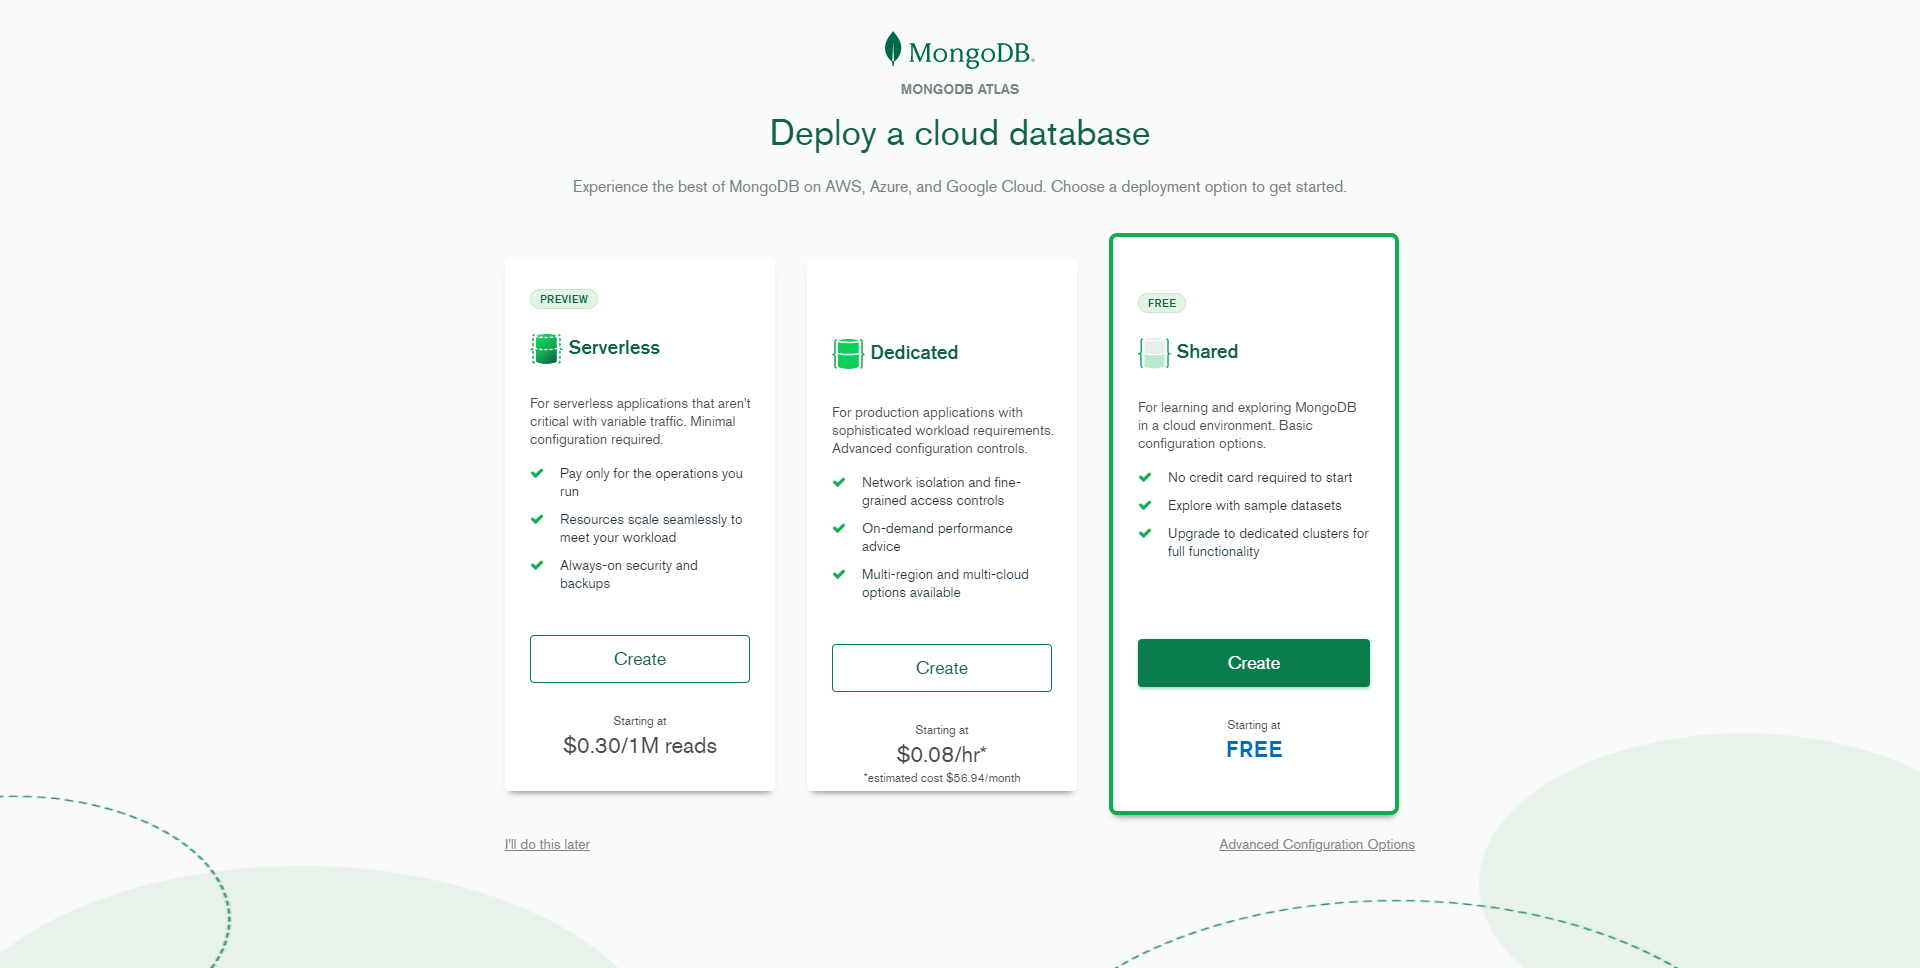
STEP-3: Choose shared database for free...
STEP-4: Click on
create clusterand enter Database username and password and click on create.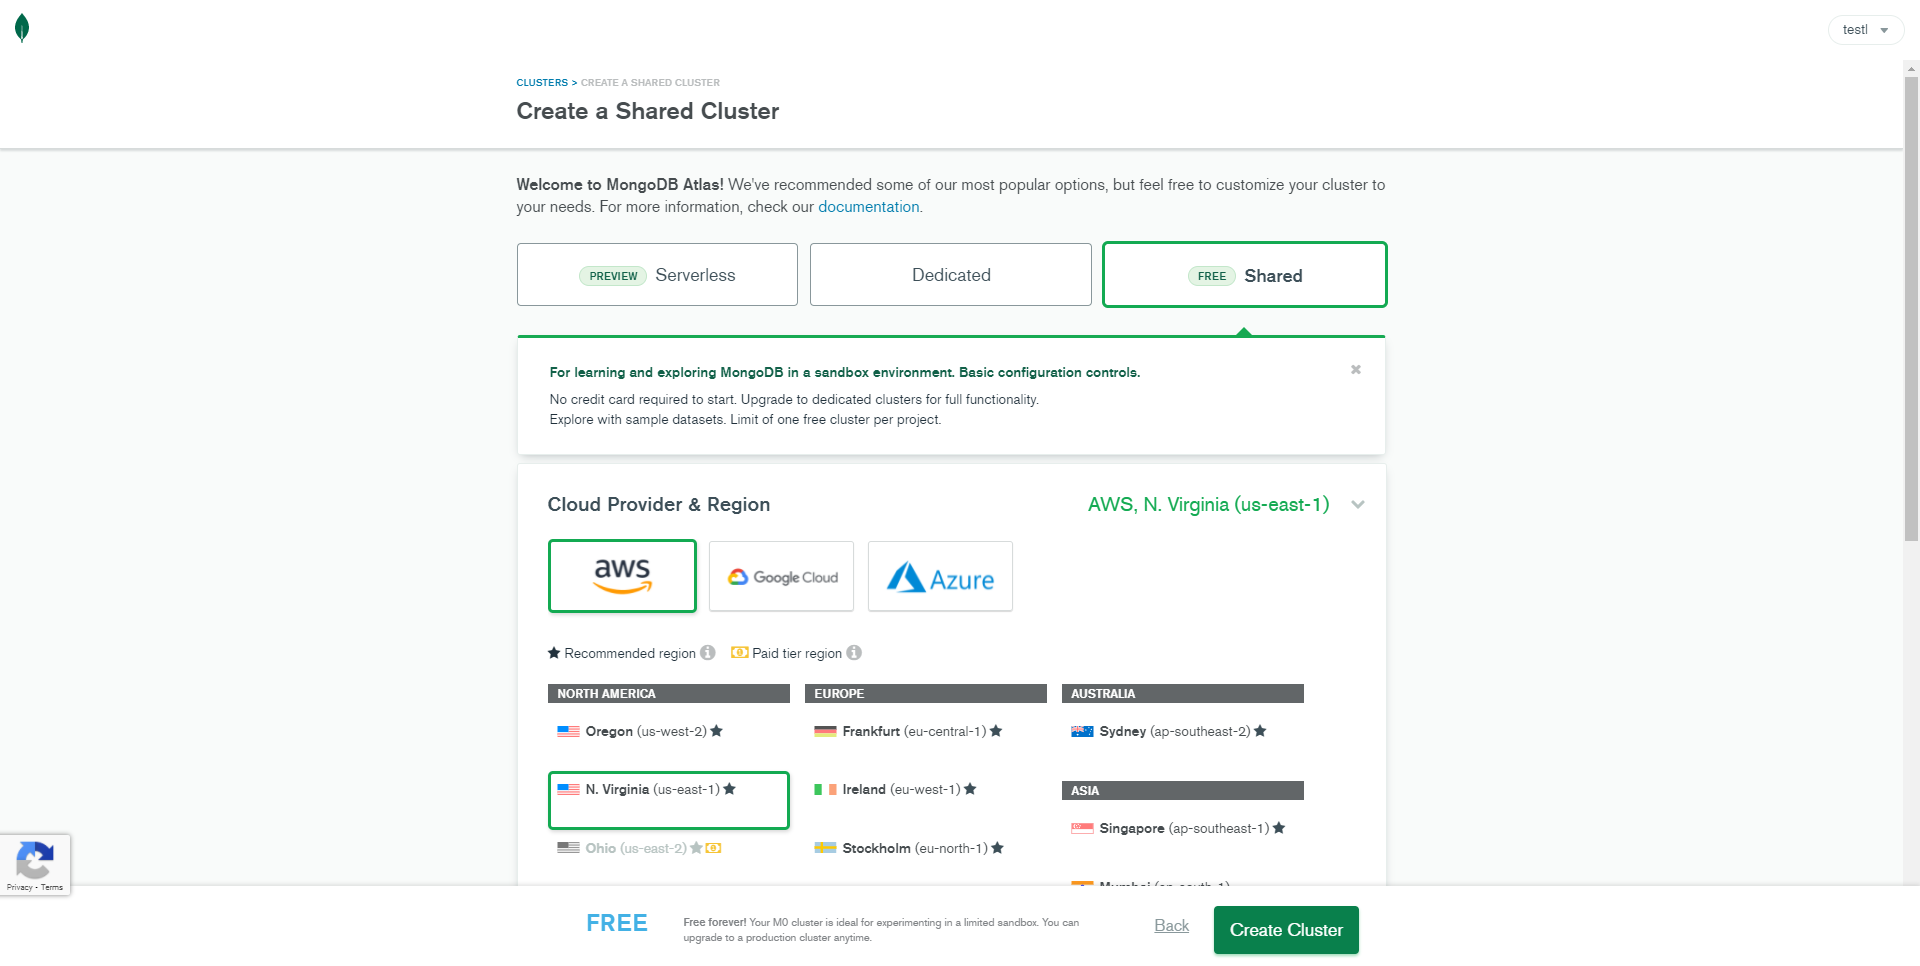
STEP-5: Wait until the process is completed and then click on
connect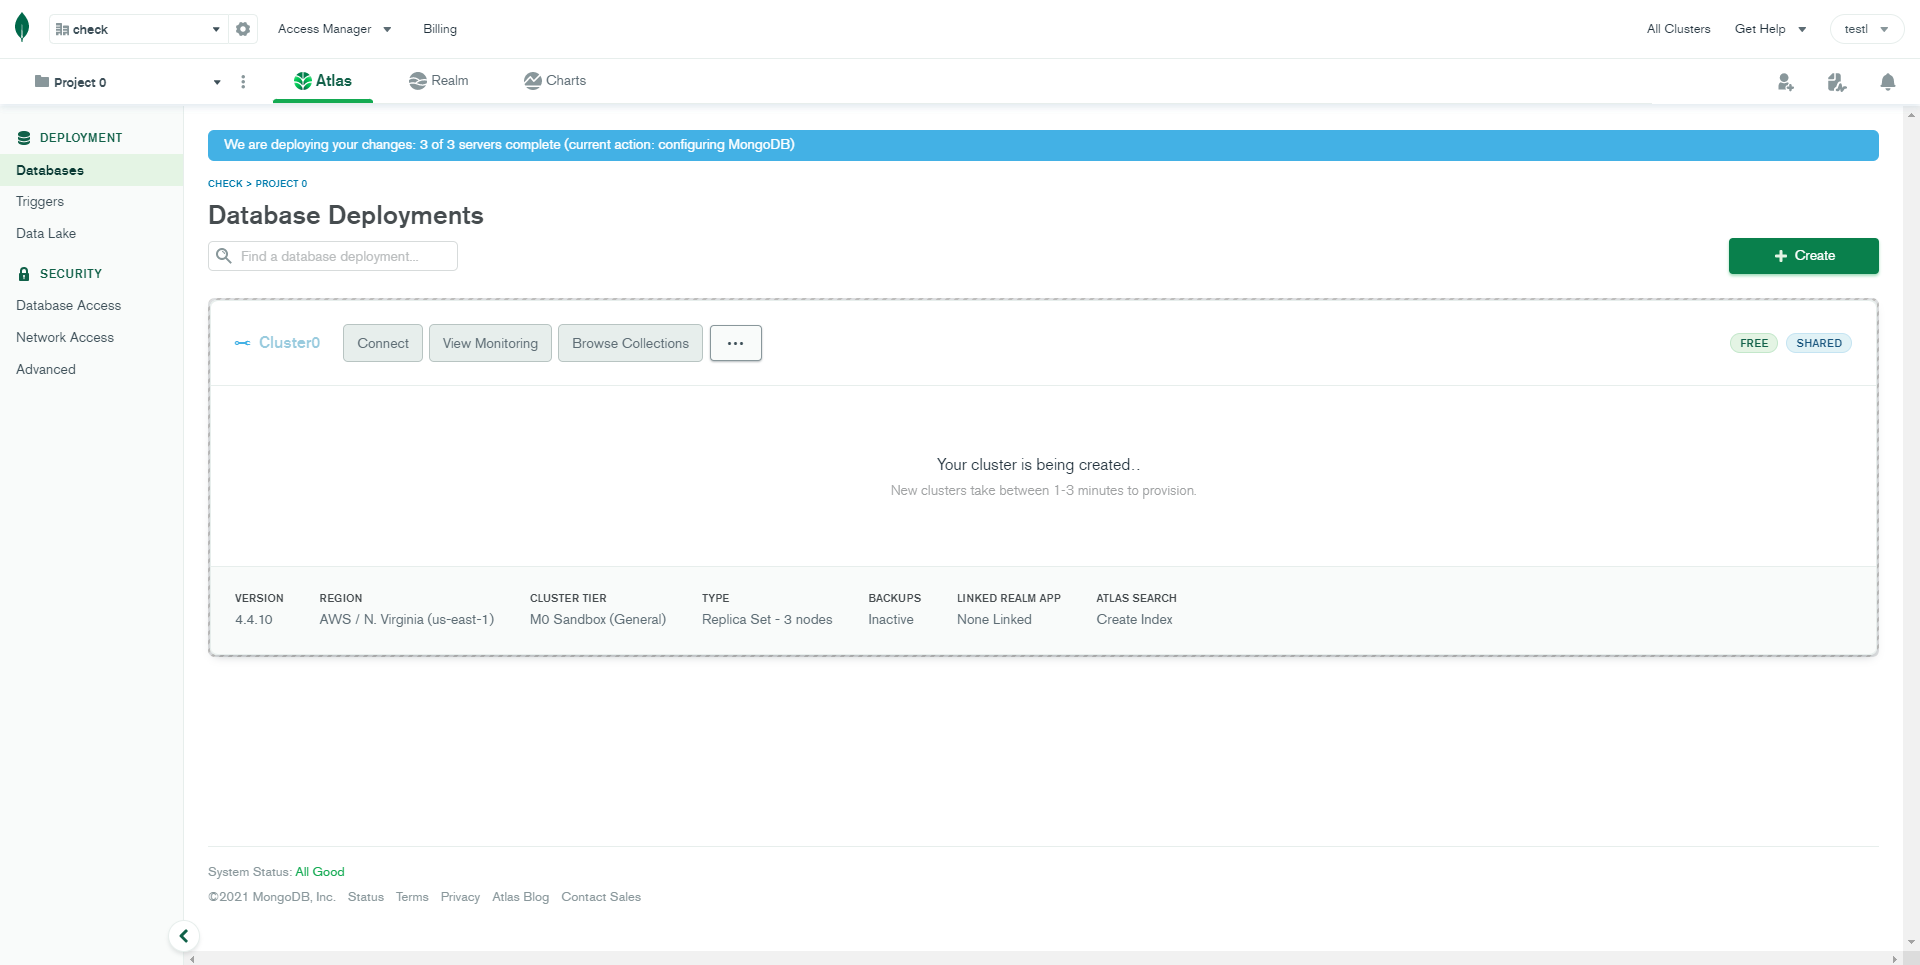
STEP-6: Select your current ip address and click on create database user.
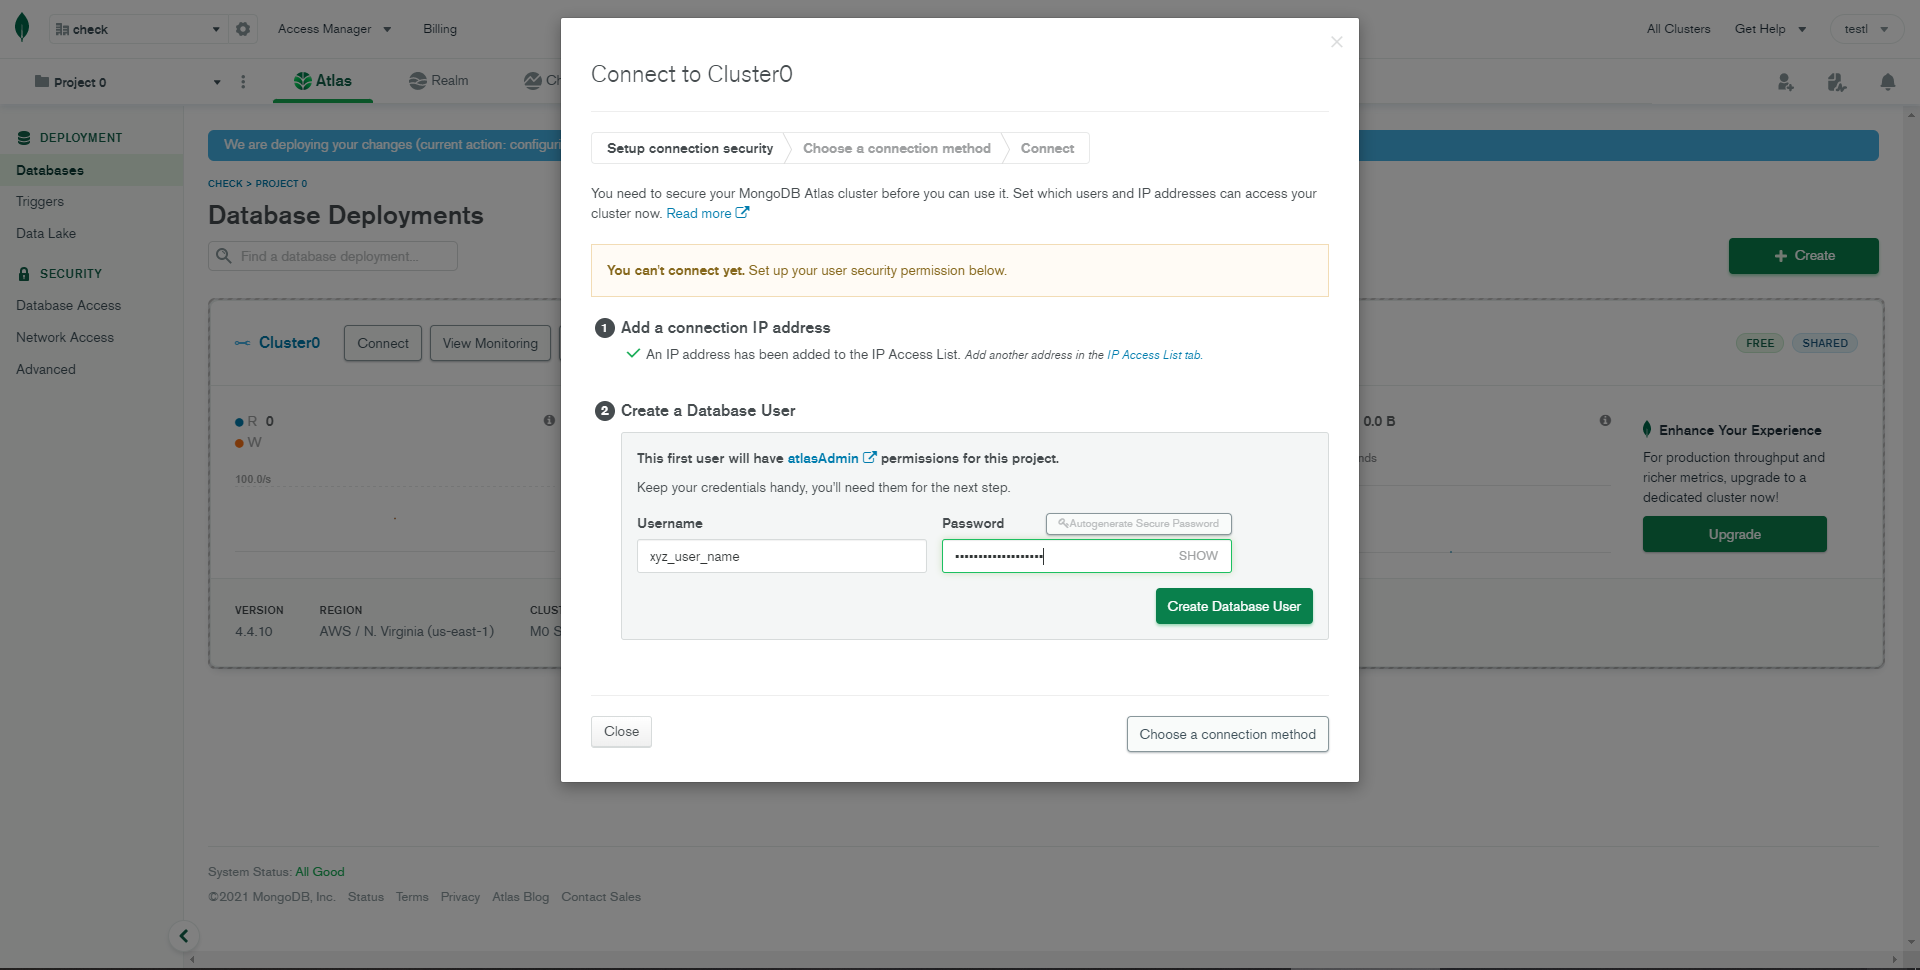
STEP-7: After finish above step then click on Choose connection method.
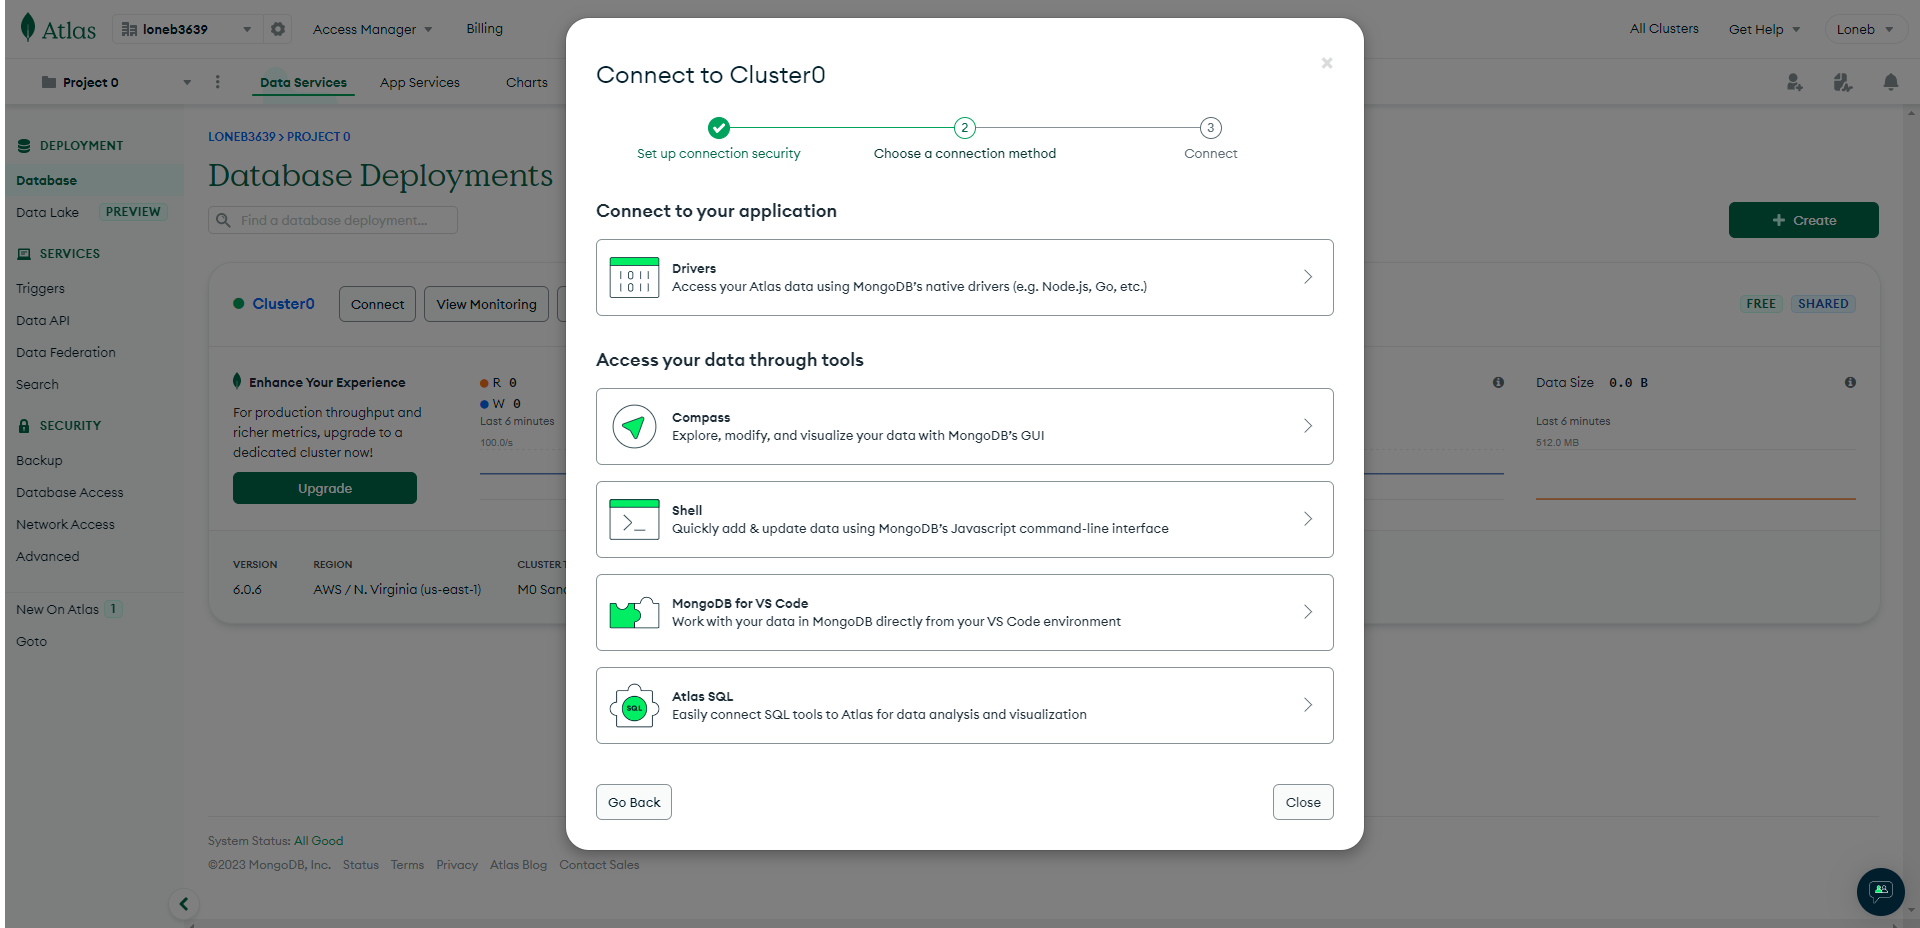
STEP-8: Now copy the given link and close the model
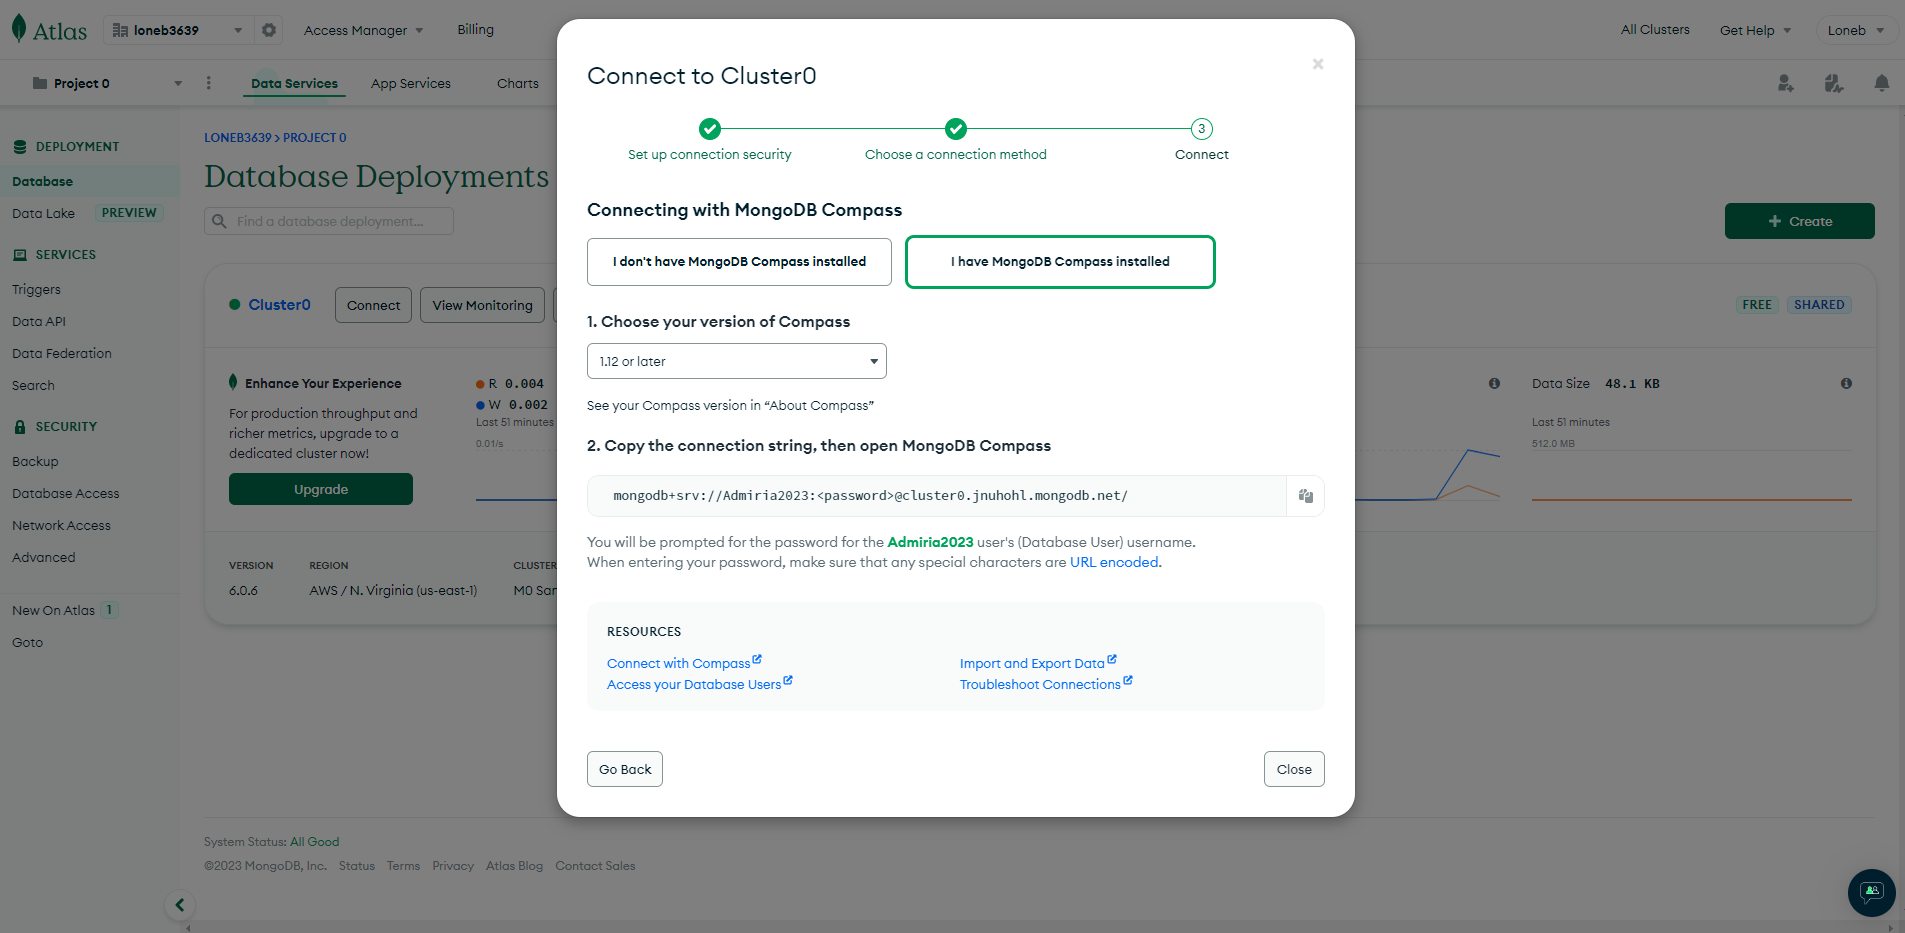
STEP-9: Now Open config.env and then paste the connection string in
DATABASE_URL=.STEP-10: Now click on
Collectionsand then clickAdd My Own Data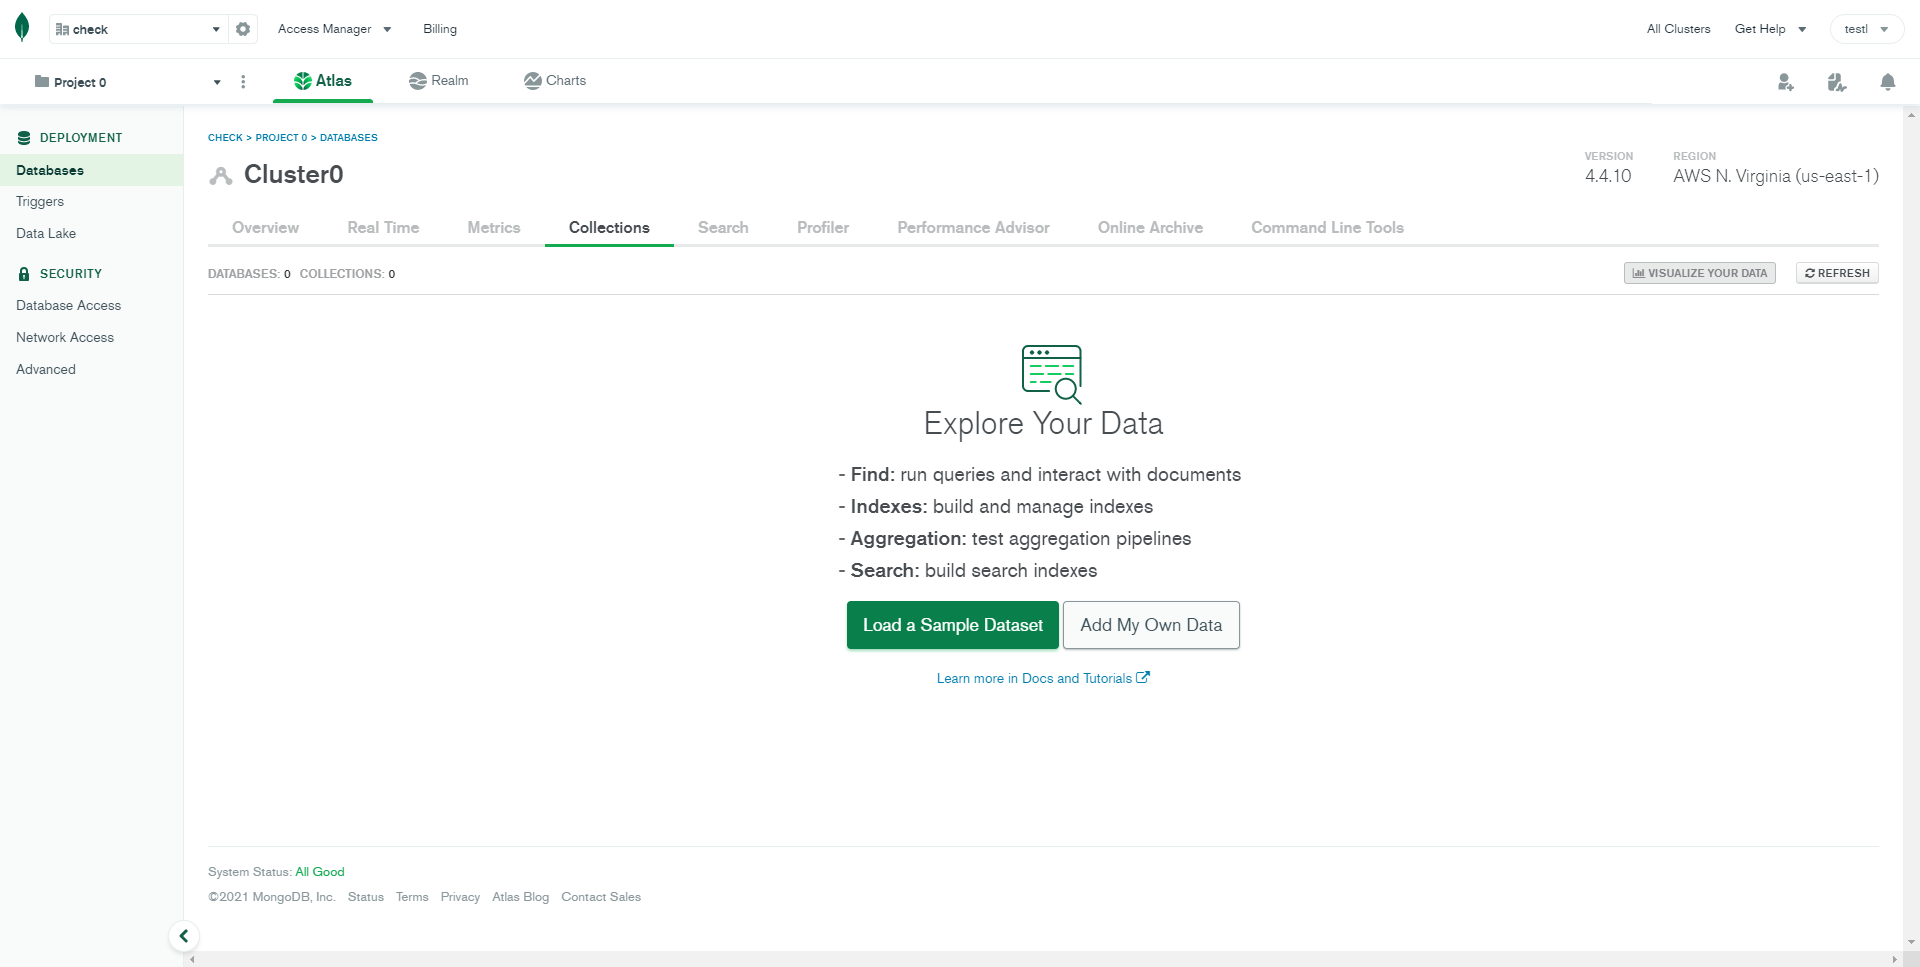
STEP-11: Then Enter your database name and collection(table) name

Installation
To setup the Symox, follow below-mentioned steps:
-
Install Prerequisites
Make sure to have all above prerequisites installed & running on your computer.
-
Install Dependencies
Open your terminal at the root directory of the project, go to your folder and enter the command
npm install. This would install all the required dependencies in thenode_modulesfolder.
After you finished with the above steps, you can run the following commands into the terminal/command prompt from the root directory (Symox_Nodejs_v1.3.0/Admin/ ) of the project to run the project locally or build for production use:
| Command | Description |
|---|---|
npm install --silent
|
This would install all the required dependencies
in the
node_modules folder.
|
gulp
|
Compile sass files and generate css files . |
npm start
|
Runs the project locally, starts the development server. The development server is accessible at http://localhost:8000. |
Tips
SCSS: We suggest you to do not change any scss files from the assets/scss/custom folders because to get new updates will might be break your SCSS changes if any you have made. We strongly suggest you to create new custom.scss file and use that instead of overwrite any theme's custom scss files.